
How to Pick the Best Cordless Vacuum for Couch and Car Interiors
Crumbs on the couch. Pet hair in the car seat. Dust settling into every fabric fold. These are everyday messes that build up fast. A full-size vacuum is often t...

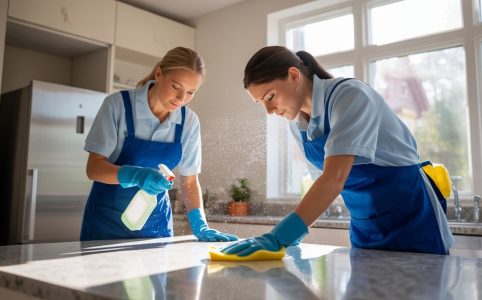
Keeping your house clean is one of the best ways to avoid allergies and other respiratory problems. Not only will you be preventing the spread of germs, but you will also be keeping your home looking and smelling great! By following a few simple tips, you can easily clean up spills, remove dust and allergens, and clean all surfaces that may be contaminated. Not only will you be keeping your home clean, but you will also be saving yourself a lot of time and money in the process.
Crumbs on the couch. Pet hair in the car seat. Dust settling into every fabric fold. These are everyday messes that build up fast. A full-size vacuum is often t...
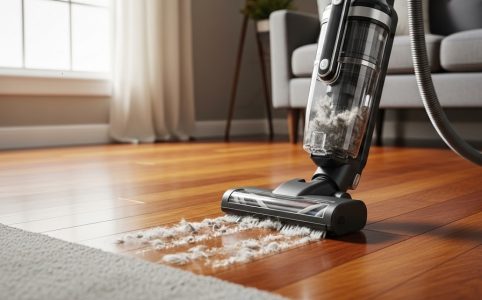
A soft brush vacuum for hardwood floors is a vacuum cleaner designed with gentle bristles that remove dust and debris without scratching delicate wood surfaces....
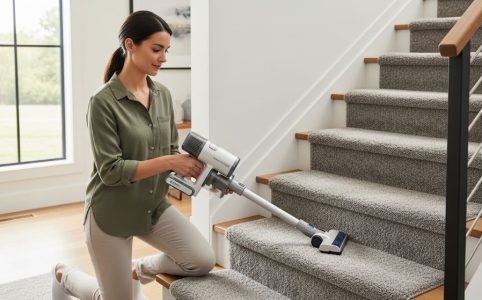
Cleaning carpeted stairs is one of the trickiest household chores. The steps are narrow. The angles are awkward. And dragging a heavy machine up and down the st...
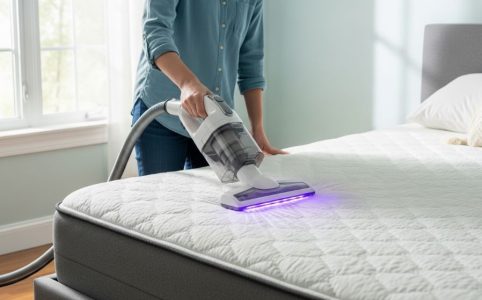
A good night’s sleep starts with a clean bed. Most people wash their sheets regularly, but they forget about what lies beneath — the mattress itself. Over...

Getting kids into good cleaning habits is about more than neat bedrooms and clear floors. It’s about teaching responsibility in a way that lasts.
Low water pressure can turn simple daily tasks into frustrating experiences. When your push-pull valve isn’t delivering the water flow you need, it’...
Picture this: You’ve just finished loading the last box into the moving truck, your back aches, and you’re exhausted from weeks of packing. Then you...
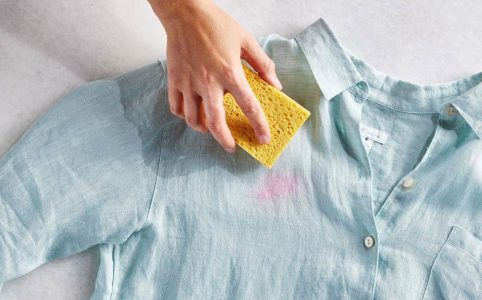
Imagine this: you’re enjoying a cozy evening at home, savoring a glass of red wine, when—oops!—a splash lands on your favorite shirt or your pristine couch. Pan...
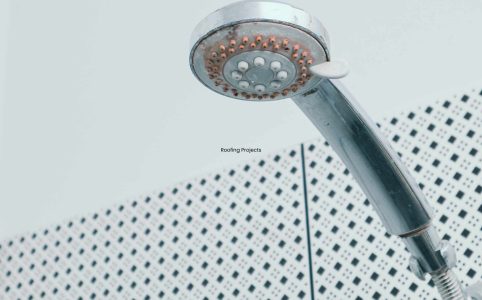
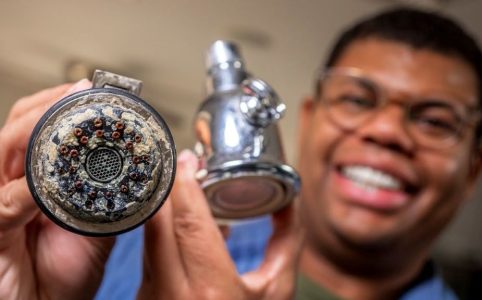
Hard water stains can be a frustrating eyesore in your bathroom and kitchen. These stubborn stains, caused by a buildup of minerals like calcium and magnesium, ...
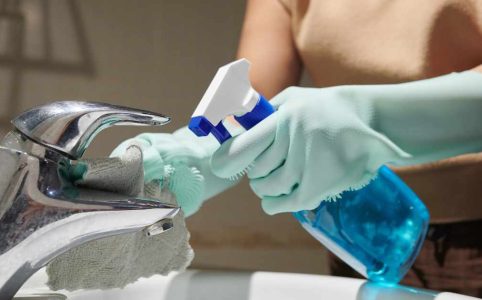
Hard water stains are a common problem in homes with mineral-rich water. These stains appear as chalky white or grayish deposits on faucets, showerheads, and ot...