
The Flicker Files: Why Your Light Bulb is Playing Disco and How to Fix It
There’s nothing quite as jarring as flipping a light switch, expecting a comforting glow, and instead being met with a maddening strobe effect. That inter...

Major appliances, also known as white goods, comprise major household appliances and may include: air conditioners, dishwashers, clothes dryers, drying cabinets, freezers, refrigerators, kitchen stove. When it comes to buying a major appliance, there are a few things you need to keep in mind. Here are some of the most important factors to consider when shopping for a new appliance:
-The type of appliance
-The features and specifications of the appliance
-The brand and warranty
-How the appliance will be installed
-The size of the appliance
There’s nothing quite as jarring as flipping a light switch, expecting a comforting glow, and instead being met with a maddening strobe effect. That inter...
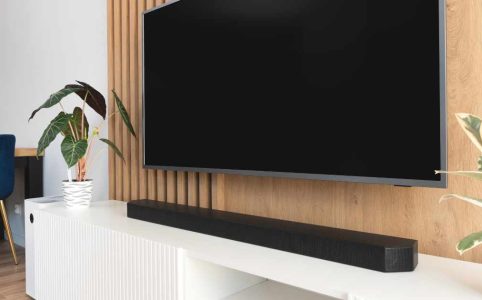
The soundbar has become an essential accessory for enhancing the home theater experience. With TVs getting thinner and their built-in speakers often underwhelmi...
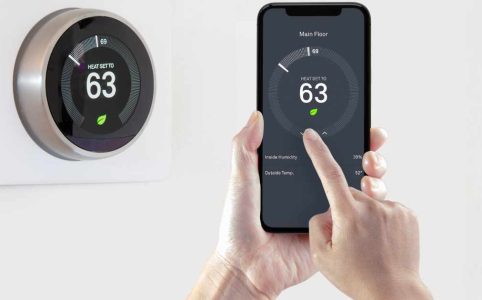
A smart thermostat is an advanced device that automates temperature control in your home, making it more energy-efficient, convenient, and cost-effective. Unlik...
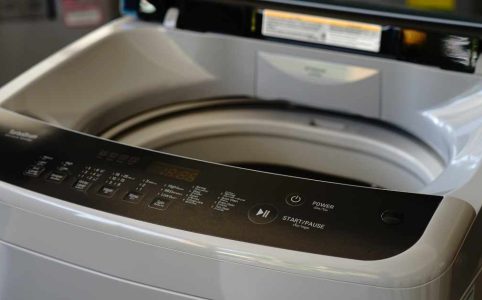
When it comes to choosing a washing machine, one of the most significant decisions you’ll face is whether to opt for a front-load or top-load model. Each type h...

Multimeters are versatile tools that offer a range of functions for electrical measurements, including the ability to measure current in amperes (amps). Knowing...

Fluorescent light fixtures are commonly used in homes and offices due to their energy efficiency and long-lasting performance. However, at some point, you may n...

Adding a ceiling fan to an existing circuit can be a great way to enhance the comfort and airflow in a room without the need for additional wiring. However, it&...
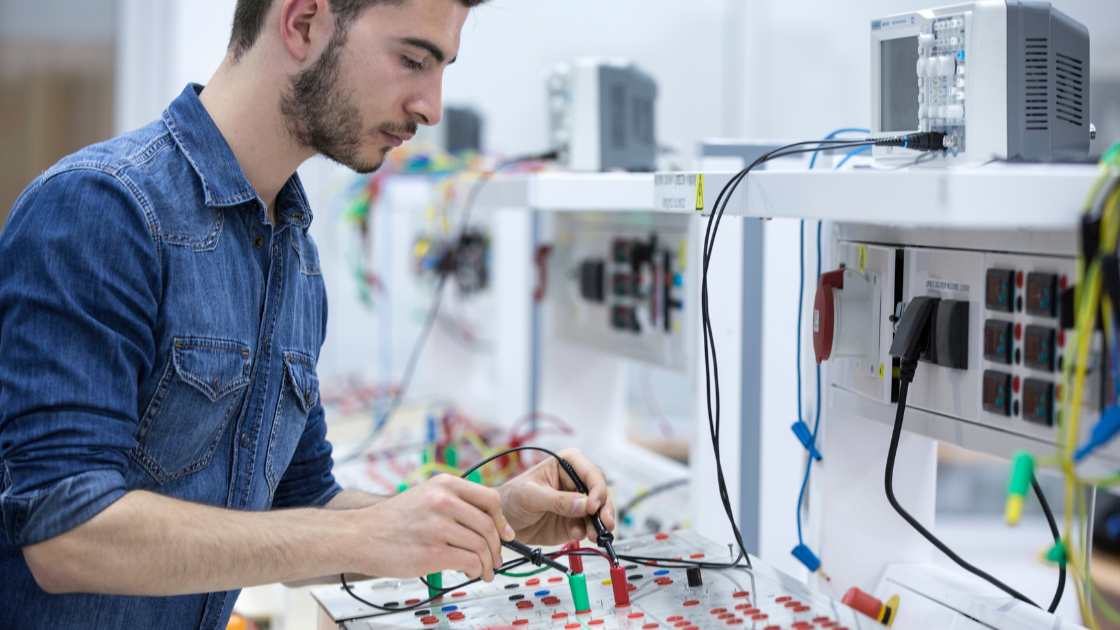
Electrical engineering is a fascinating field that lies at the heart of modern technology. With its wide range of applications and constant innovations, masteri...

The distinctive odor of electrical burning can be concerning and may raise questions about its duration and potential hazards. Understanding the duration of thi...

As a home cook, having the right kitchen appliances can make all the difference in the world. Whether you’re a beginner or a seasoned pro, having the righ...