
How a Black Garage Door Creates Timeless Exterior Appeal
Black garage doors transform home exteriors with sophisticated elegance that never goes out of style. This classic color choice enhances curb appeal while compl...

There is no one-size-fits-all answer when it comes to garage size. The best size for your home depends on the number of cars you own, the size of your driveway, and other factors.
To get started, check out houseedy.com blog for ideas on how to calculate the size of a garage based on your specific needs. You can also explore garage sizes at home improvement stores or online.
Black garage doors transform home exteriors with sophisticated elegance that never goes out of style. This classic color choice enhances curb appeal while compl...

Rust can destroy your tools, car, and equipment faster than you think. However, controlling garage humidity is your best defense against this silent destroyer. ...

The landscape of British garage doors is experiencing a remarkable transformation. Homeowners across the UK are embracing minimalist design principles while dem...

Garage doors in the UK are evolving, blending smart technology with sustainable practices to meet modern homeowner needs. Once simple barriers, they now enhance...

Epoxy flooring is a popular choice for garage floors due to its durability, aesthetic appeal, and ability to withstand heavy foot traffic and vehicle use. Epoxy...
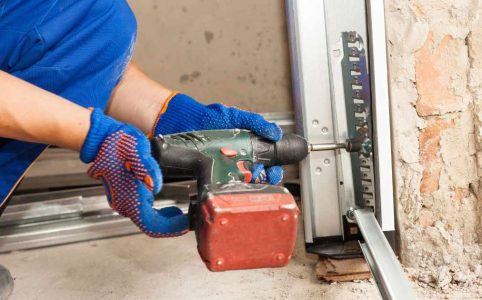
Replacing garage door springs can be a challenging task, but with proper tools, safety precautions, and guidance, it can be done successfully. This guide will w...

A garage door opener is an essential component for convenience and security. However, if the battery in your garage door opener or its remote runs out, it can c...

Garage door sensors play a critical role in ensuring your garage door operates safely. These sensors detect objects or obstacles in the path of the door and pre...

Shop rags are essential for cleaning up spills, wiping down tools, and keeping your garage organized. However, improper storage can lead to clutter, potential f...
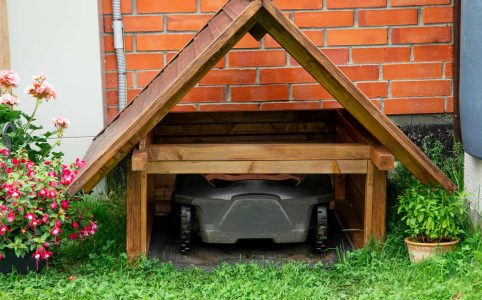
Properly storing your lawn mower in the garage can significantly extend its lifespan, improve its performance, and keep your space organized. Whether you have a...