
Best Loppers for Thick Branches: Buyer’s Guide
Dealing with overgrown trees and stubborn shrubs is no small task. If you have ever tried cutting a thick branch with the wrong tool, you already know how exhau...

If you’re looking to add some nature to your home, a garden is a great way to do it. There are many different ways to create a garden, and if you’re not sure where to start, check out housedy.com blog for some ideas. First, decide what kind of garden you want: outdoor or indoor. Outdoor gardens can be planted in any season, but indoor gardens are typically best in the Spring and Fall.
Dealing with overgrown trees and stubborn shrubs is no small task. If you have ever tried cutting a thick branch with the wrong tool, you already know how exhau...

Tucson homeowners and desert gardeners often rely on durable hand tools to manage dry soil and stubborn weeds. According to the United States Department of Agri...

Creating a beautiful water feature in your home or garden doesn’t require a massive installation or complicated equipment. A small fountain bowl can bring...

Weeds invade every garden. They steal water, nutrients, and sunlight from your plants. You feel frustrated when they take over. However, you can regain control ...

Home-grown flowers smell amazing. Moreover, they make an excellent decoration or gift. Therefore, if you take up gardening as a hobby, obviously you’ll have a v...

If your backyard still feels like a forgotten patch of grass, it’s time to reimagine it, garden living is no longer just about a place to plant flowers or...

Picture this: It’s early Saturday morning, and your neighbor fires up their gas-powered leaf blower, shattering the peaceful weekend silence while filling...
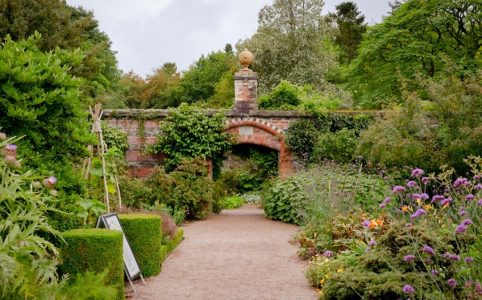
Picture stumbling upon a forgotten walled garden where crumbling brick walls once sheltered prize-winning roses. The magic lies dormant, waiting for skilled han...
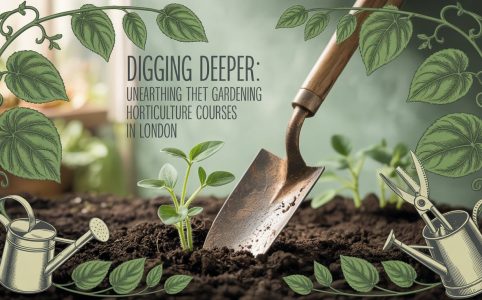
Ever dreamt of transforming your balcony into a blooming oasis? Or perhaps you aspire to design breathtaking landscapes that leave onlookers spellbound? London,...
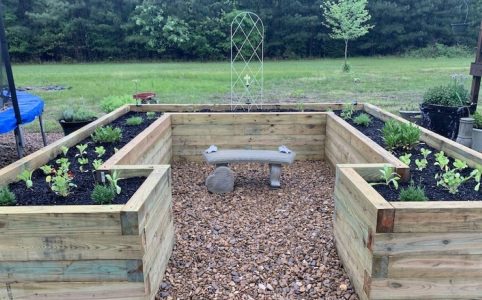
You’ve built it. That beautiful, sturdy raised garden bed is sitting proudly in your yard, a blank canvas of potential. You’re ready to fill it with soil, plant...