Best Shower Waterproofing System: Protect Your Bathroom from Water Damage

When it comes to bathroom remodeling or renovation, waterproofing is one of the most important factors to consider. A properly waterproofed shower prevents water from penetrating the tiles and grout, which can lead to mold and mildew growth, structural damage, and costly repairs. In this article, we will discuss the best shower waterproofing systems that you can use to protect your bathroom.

What is a Shower Waterproofing System?

A shower waterproofing system is a set of materials and techniques used to prevent water from penetrating the shower area and damaging the bathroom structure. It typically includes a waterproofing membrane or barrier, a drainage system, and sealants or adhesives.

Liquid Waterproofing Membrane

Liquid waterproofing membranes are a popular choice for shower waterproofing because they are easy to apply, flexible, and provide excellent coverage. They can be applied to various surfaces such as concrete, plaster, and wood, and can be used for both new construction and renovation projects. Liquid waterproofing membranes are typically made of acrylic, polyurethane, or rubber and can be painted or sprayed onto the surface.

Sheet Membrane Waterproofing

Sheet membrane waterproofing is a traditional method of shower waterproofing that involves laying a waterproofing membrane over the shower area. It is typically made of PVC, rubber, or bituminous material and can be applied to the shower floor, walls, and ceiling. Sheet membrane waterproofing is durable and provides excellent protection against water damage.

Cementitious Waterproofing

Cementitious waterproofing is a type of waterproofing that involves applying a cement-based coating to the shower area. It is a cost-effective option that can be used for both new construction and renovation projects. Cementitious waterproofing provides excellent adhesion to various surfaces and is resistant to cracks and leaks.

Sealing and Caulking

Sealing and caulking are important steps in shower waterproofing that should not be overlooked. They are used to seal gaps between tiles and prevent water from seeping through. Silicone sealant and caulk are popular choices for sealing joints and gaps in the shower area. They are flexible, durable, and provide excellent water resistance.

FAQ’s

What is the best shower waterproofing system for a DIY bathroom renovation project?

The best shower waterproofing system for a DIY bathroom renovation project is a liquid waterproofing membrane. Liquid waterproofing membranes are easy to apply and can be painted or sprayed onto the surface. They are also flexible and provide excellent coverage. However, it is important to follow the manufacturer’s instructions carefully and ensure proper ventilation during application.

How long does a shower waterproofing system last?

The lifespan of a shower waterproofing system depends on various factors, including the type of system used, the quality of materials, and the installation process. Generally, a properly installed and maintained waterproofing system can last between 10-20 years. However, it is important to regularly inspect the shower area for signs of damage and address any issues promptly to ensure maximum lifespan.

Can I use a shower curtain instead of waterproofing the shower area?

While a shower curtain can help prevent water from splashing outside the shower area, it is not a substitute for proper waterproofing. Over time, water can seep through the curtain and cause damage to the bathroom structure. Additionally, shower curtains can harbor mold and mildew, which can be difficult to clean and can cause health problems. It is recommended to use a proper shower waterproofing system to ensure maximum protection against water damage.

Conclusion

Choosing the right shower waterproofing system is essential to protect your bathroom from water damage. Liquid waterproofing membranes, sheet membrane waterproofing, cementations’ waterproofing, and sealing and caulking are all effective methods of shower waterproofing. Before starting your bathroom renovation project, consult with a professional to determine the best waterproofing system for your needs.

Get Your Walls Ready for a Makeover: How to Repair Peeling Paint

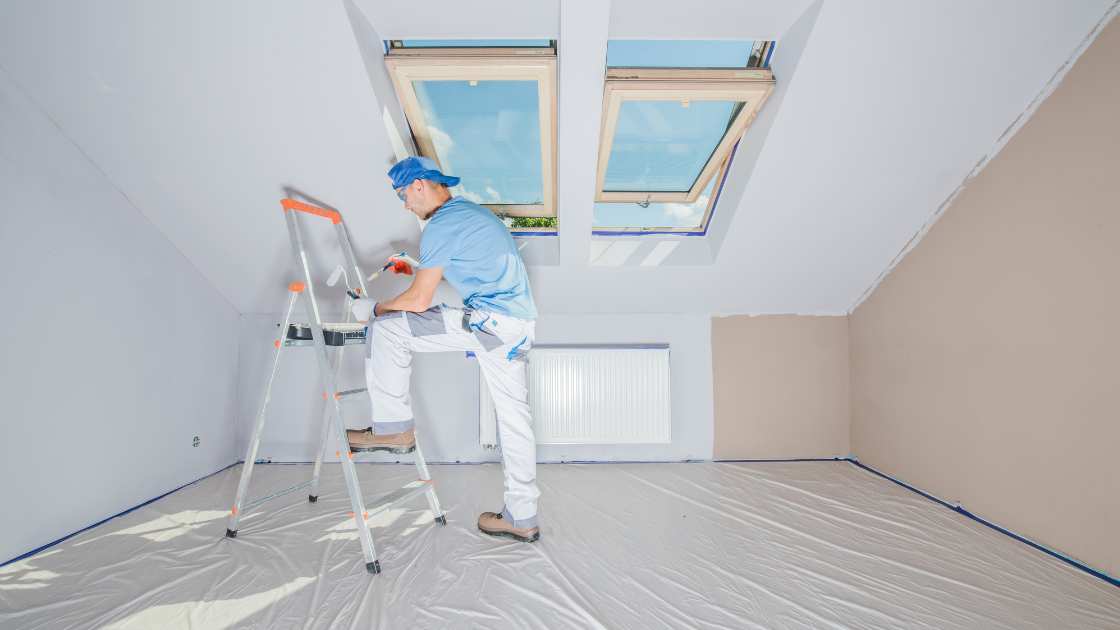
Are you planning to give your home a fresh new look with a fresh coat of paint? If so, it’s essential to prepare your walls properly before starting. One of the most common issues homeowners face is peeling paint. Peeling paint can be an eyesore and can also affect the adhesion of the new paint. In this article, we’ll show you how to repair peeling paint and get your walls ready for a flawless makeover.

Get Your Walls Ready for a Makeover: How to Repair Peeling Paint

Identify the Cause of Peeling Paint

Before you start repairing peeling paint, it’s essential to identify the cause. Peeling paint can occur due to moisture, a lack of surface preparation, or the use of low-quality paint. Once you’ve identified the cause, you can take the necessary steps to prevent the issue from occurring again.

Scrape Away Loose Paint

The first step in repairing peeling paint is to remove any loose paint. You can use a scraper or putty knife to scrape away any chipped or peeling paint. Be sure to wear a dust mask and eye protection to avoid inhaling paint dust.

Sand the Surface

Once you’ve scraped away the loose paint, it’s time to sand the surface. Sanding will create a smooth surface and improve the adhesion of the new paint. Use a fine-grit sandpaper to sand the surface lightly. Be sure to clean the surface thoroughly after sanding to remove any dust or debris.

Fill in the Gaps

If there are any gaps or cracks in the surface, you’ll need to fill them in before painting. You can use a filler or putty to fill in the gaps. Apply the filler using a putty knife and smooth it out evenly. Let the filler dry according to the manufacturer’s instructions and then sand the surface lightly to create a smooth finish.

Prime the Surface

Before painting, it’s essential to prime the surface. Priming will improve the adhesion of the new paint and help it to last longer. Use a high-quality primer and apply it evenly over the surface using a brush or roller. Allow the primer to dry completely before applying the new paint.

FAQ’s

What causes paint to peel?

There are several reasons why paint may peel. One of the most common causes is moisture, which can seep into the surface and cause the paint to lose its adhesion. A lack of surface preparation, such as failure to clean and sand the surface, can also cause paint to peel. Using low-quality paint or applying paint over a glossy surface without proper priming can also result in peeling paint.

Can I paint over peeling paint?

It is not recommended to paint over peeling paint as it can affect the adhesion of the new paint. The peeling paint should be removed, and the surface should be properly prepared before applying a new coat of paint. Painting over peeling paint can result in a bumpy and uneven surface that may require additional work in the future.

Do I need to hire a professional to repair peeling paint?

Repairing peeling paint can be done as a DIY project, but it does require some knowledge and preparation. If you have experience with home improvement projects, you can follow the steps outlined in this article to repair peeling paint. However, if you are unsure or uncomfortable with the process, it may be best to hire a professional to ensure that the job is done correctly. A professional painter can also offer advice on selecting the right paint and primer for your specific surface.

Conclusion

Repairing peeling paint is an important step in preparing your walls for a fresh coat of paint. By following the steps outlined in this article, you can ensure that your walls are ready for a flawless makeover. Remember to wear protective gear and work in a well-ventilated area when repairing peeling paint. With a little effort and attention to detail, you can transform your home and give it a fresh new look.

Does Homeowners Insurance Cover Electrical Wiring and Associated Problems?

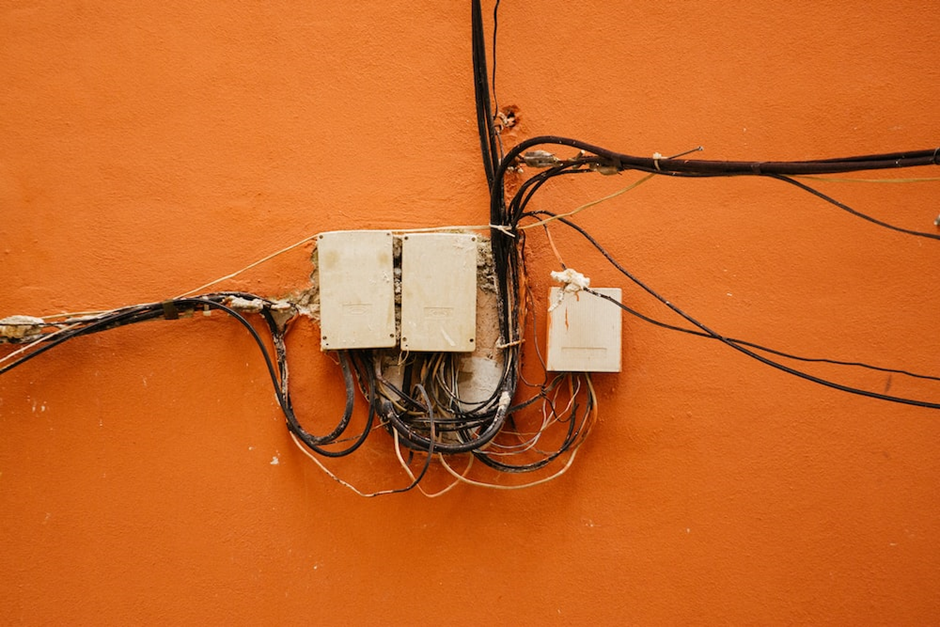
Electrical wiring is an important yet least discussed component in every home. Since they aren’t visible from the walls, most homeowners can’t tell if their electrical systems are working or in good condition until there’s an issue. Even if your household appliances and lighting are in good working condition, your home’s electrical system isn’t perfect.