
Building a Flat Roof: Step-by-Step Guide and Considerations
Flat roofs are a popular choice for modern homes and commercial buildings due to their sleek appearance and cost-effectiveness. Building a flat roof requires ca...

Flat roofs are a popular choice for modern homes and commercial buildings due to their sleek appearance and cost-effectiveness. Building a flat roof requires ca...
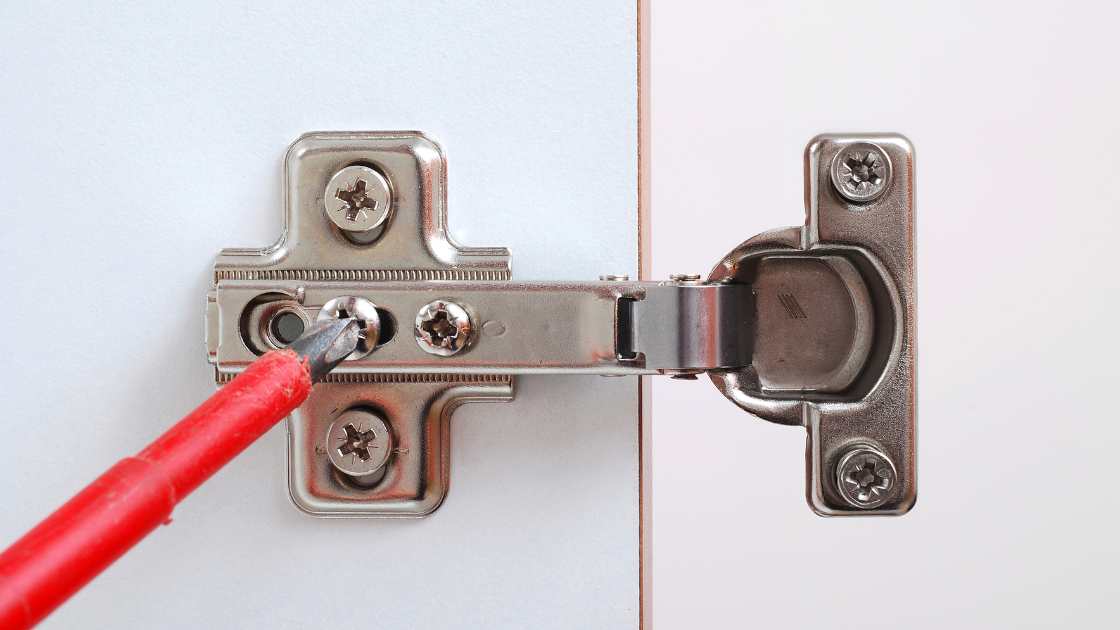
When working on DIY projects or home improvements, you may encounter a common challenge: the need to move screw holes slightly. Whether you’re hanging a p...

Decorating your own place is one of the most exciting and enjoyable experiences of adult life, as you finally get to express yourself and create your own space ...

Moving house is a thrilling experience, but if you have children, the process can be anything but exciting. With so much to pack, organize and sort through – it...

There are so many pests that try to take advantage of our homes! Like if all of our other problems aren’t enough, we have to constantly battle with all th...

Creating a blue rose wreath DIY can seem like a daunting task, but with the right materials and a bit of patience, it can be a fun and rewarding project. Here a...

Wall plugs, also known as anchors or anchors, are small devices that are used to hold screws and other fasteners securely in walls. They come in different types...
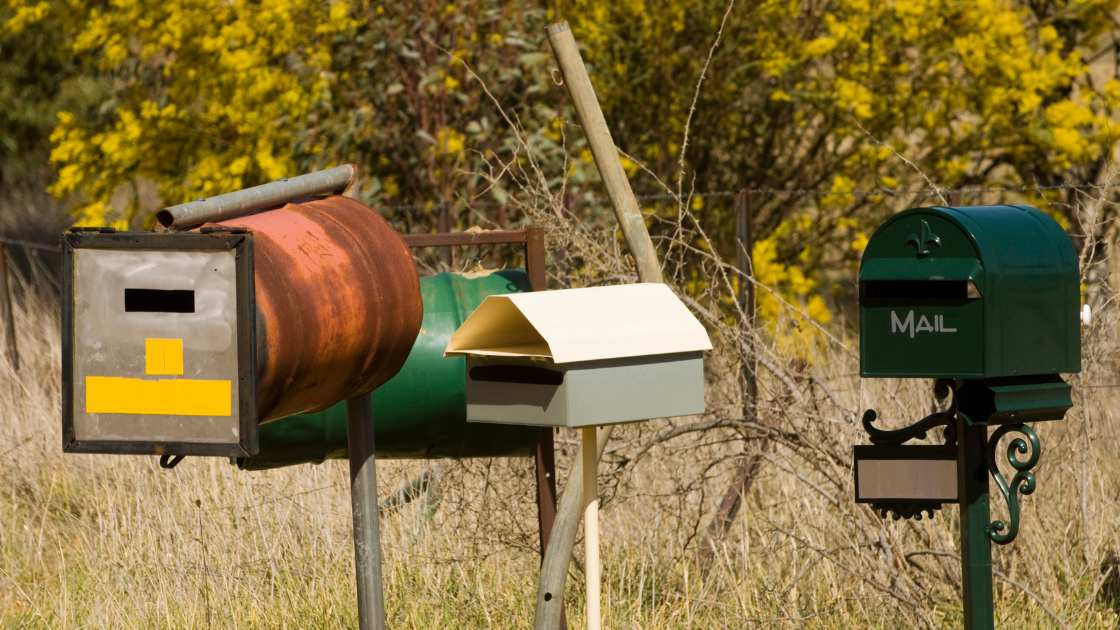
Waterproofing a brick letterbox is a great way to keep your letterbox looking its best. By painting or taping the inside of the box with water-repellent materia...

Christmas lights may be a lot of fun, but they can also be annoying if they flash constantly. There are a few things you can do to make your Christmas lights ap...
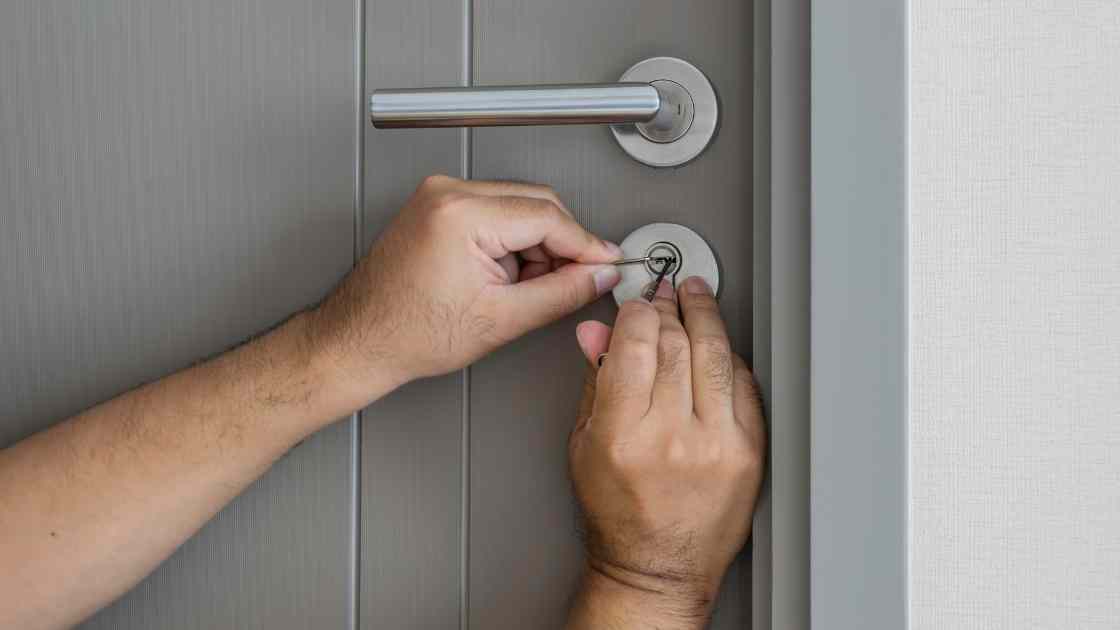
Searching for how to open a locked bedroom door? Read on to find out. Locked bedroom doors are a common sight in many homes. They provide security for the occup...