How to Pick the Right Pull-Down Kitchen Faucet in New York (NY)
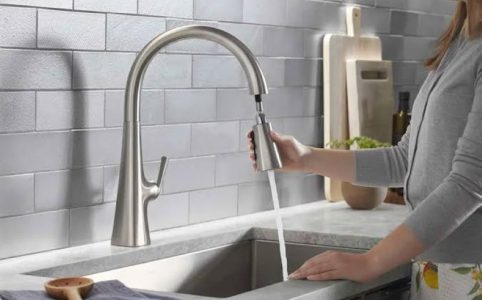
A pull-down kitchen faucet can transform your cooking and cleaning experience, offering both style and unmatched functionality. In New York, where space is ofte...

A pull-down kitchen faucet can transform your cooking and cleaning experience, offering both style and unmatched functionality. In New York, where space is ofte...

Kitchen cooling systems work harder in Miami than in many other cities across the United States. High humidity, warm temperatures, and constant appliance use cr...

There is something magical about a plate of perfectly made fresh pasta. It has a soft, silky texture that store-bought dried pasta simply cannot match. The good...

Keeping your cleaning supplies organized under the sink is more than just about tidiness—it’s about maximizing space and ensuring everything is easily accessibl...

Choosing a range hood for your kitchen involves more than picking an attractive design. The size of your range hood directly affects how well it removes smoke, ...
Your kitchen and bathroom are more than just functional spaces—they’re the heart of your home where memories are created and mornings begin. If you’...
A kitchen makeover is a thoughtful redesign or renovation of your kitchen space to enhance its functionality, aesthetics, and value. It can range from simple up...

Premier kitchen and bathroom renovation services help homeowners create their dream spaces. These renovations boost home value while improving daily living comf...
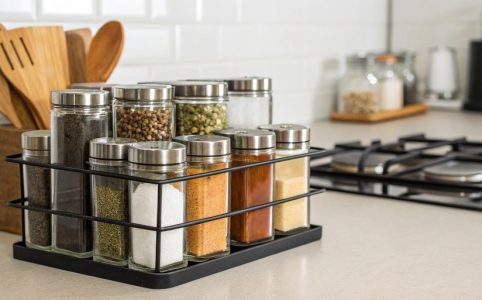
In a world where cooking is an art and flavors are the palette, spices play a pivotal role in transforming mundane dishes into culinary delights. However, for t...

A Waste-Free Kitchen Is Closer Than You Think Imagine preparing your favorite meal without producing a single scrap of waste — no plastic wrap, no disposable co...