Pool Preparation 101: Getting Your Oasis Ready for Summer
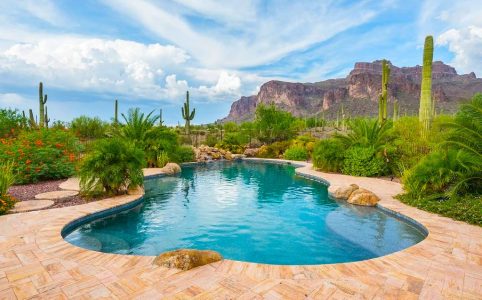
Summer is approaching, so it’s time to start thinking about your pool! As the temperatures rise and the days get longer, having a pool in your backyard ca...

Summer is approaching, so it’s time to start thinking about your pool! As the temperatures rise and the days get longer, having a pool in your backyard ca...

Residents of Jackson, FL, are increasingly embracing the minimalist movement, choosing to downsize their homes as a pathway to a simpler, more enriched life. Th...

So, you’re kickin’ it in the Valley of the Sun, enjoying those sizzling Phoenix summers, when, out of the blue, your plumbing decides to stage a ful...

Having a refrigerator with a water dispenser and ice maker can be a game-changer for your kitchen. Not only does it provide convenient access to cold water and ...

Moving can be a bittersweet experience. There is excitement about starting a new chapter in your life in a new city with the prospect of meeting new people. On ...

Replacing a Roman tub faucet can be a challenging task, especially when there is no access panel. Access panels are an easy way to replace the faucet, but unfor...

Portable garages are an excellent investment for homeowners looking for extra storage space for their vehicles, tools, or equipment. They are easy to install an...

Home improvement is an important aspect of homeownership. It can be a way to personalize your living space, increase your home’s functionality, or even ad...

Many people believe that owning tools and equipment is a must for homeowners. But, why is it so important? Having your own set of these can be crucial in mainta...

Do you have a closet that smells like weed? If so, you’re not alone. Weed smoke can linger in clothes for weeks, and the smell can be really unpleasant. W...