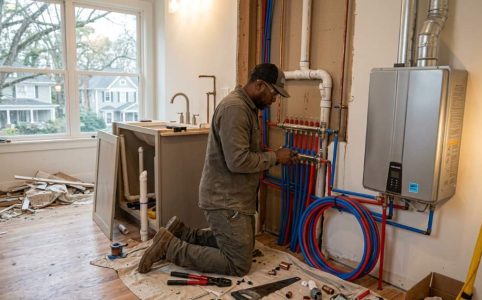
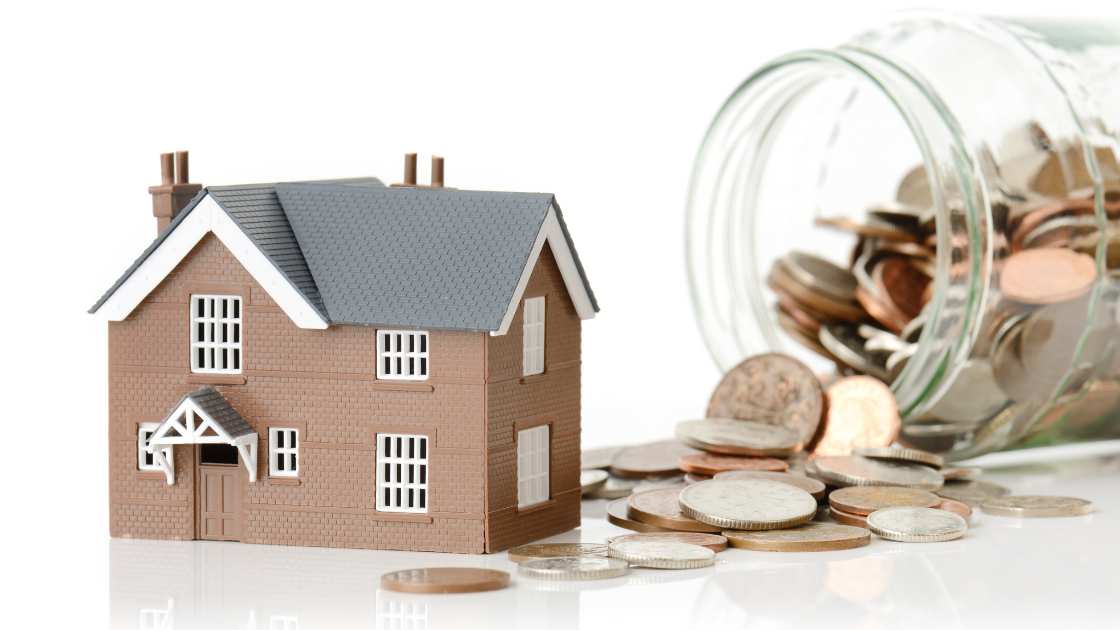
Home Plumbing Upgrade Methods Popular in Atlanta, GA Renovations
Atlanta homeowners continue to invest in plumbing improvements as property values rise across the metro area. According to national remodeling reports, kitchen ...

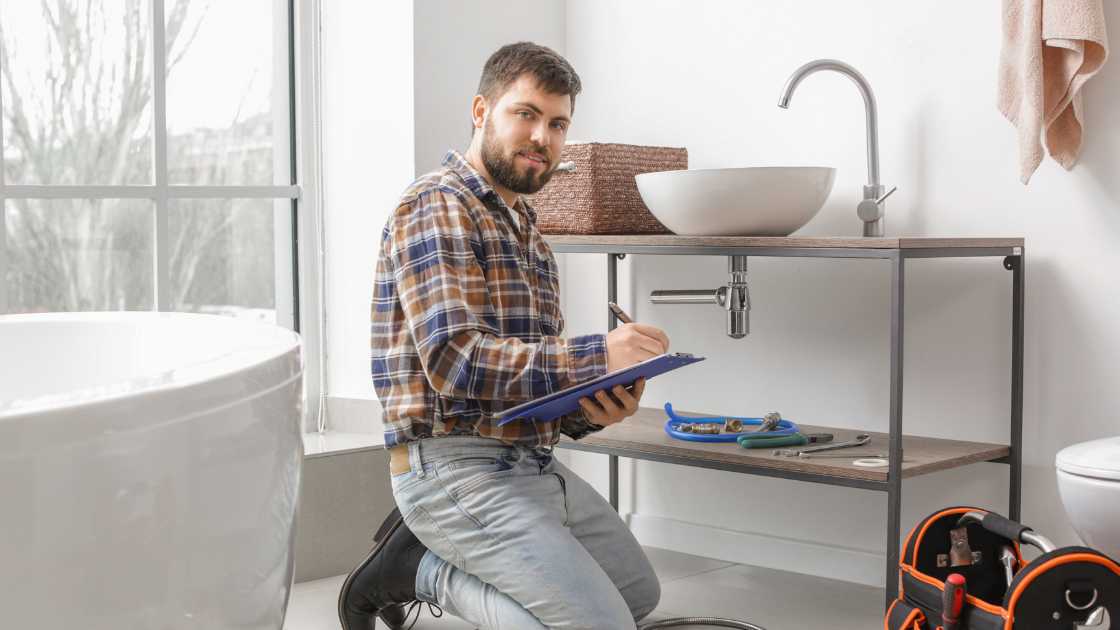
Different households have different types of plumbing needs, which is why it is important to know the basics of each type before you buy a sink, faucet or any other plumbing fixture. This blog will provide you with a brief overview of each type of plumbing, as well as the advantages and disadvantages of each. Make sure to bookmark this page and refer to it whenever you need to know more about any specific type of plumbing!
Atlanta homeowners continue to invest in plumbing improvements as property values rise across the metro area. According to national remodeling reports, kitchen ...

You stand in your workshop, ready to cut perfect curves into plywood for that custom shelf you’ve planned all week. The jigsaw hums with potential, but yo...

Imagine you hold a tool that turns a simple sheet of plywood into an intricate curve or a perfect circle. That tool is a jig saw. Woodworkers and DIY enthusiast...

DIY projects feel empowering right up until the first tough cut goes sideways—splintered edges, wasted boards, and that sinking feeling that your “simple” plan ...
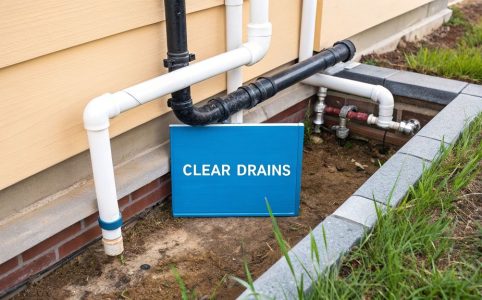
Miami’s humid climate and frequent storms make drain clogs a common headache for homeowners. From kitchen grease to bathroom hair, blocked pipes can disrupt dai...
Hard water stains can be a frustrating eyesore in your bathroom and kitchen. These stubborn stains, caused by a buildup of minerals like calcium and magnesium, ...
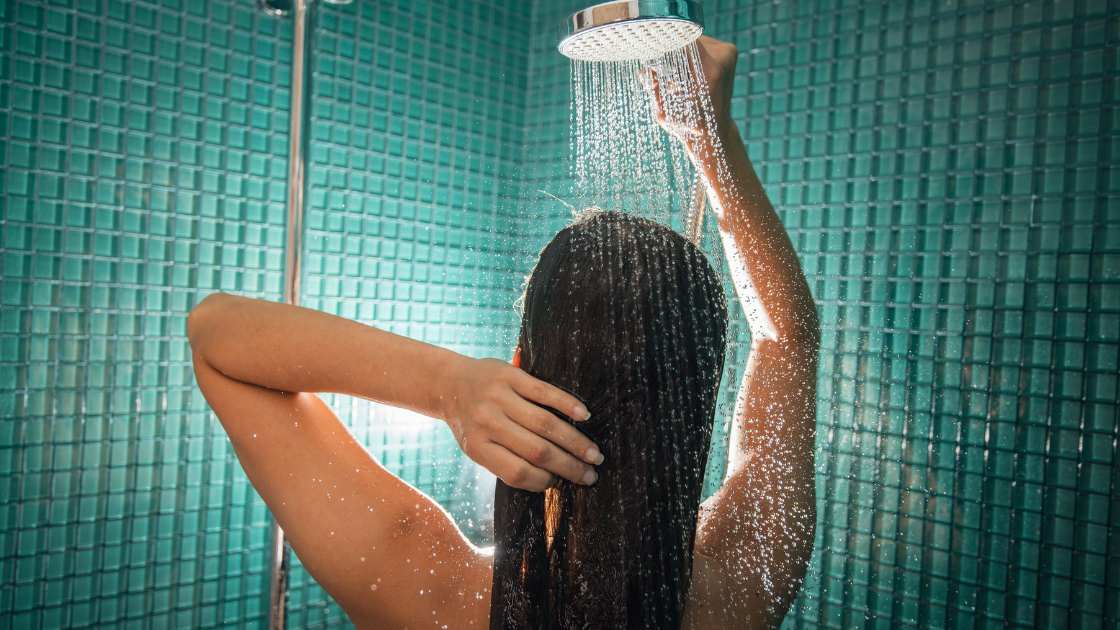
Are you looking to give your bathroom a refreshing upgrade? One way to achieve a significant transformation is by replacing your bathroom sink. Whether your cur...
Waterproofing is a crucial step in protecting your home or business from water damage. Water can seep into structures and cause costly and dangerous damage, suc...

Replacing a Roman tub faucet can be a challenging task, especially when there is no access panel. Access panels are an easy way to replace the faucet, but unfor...
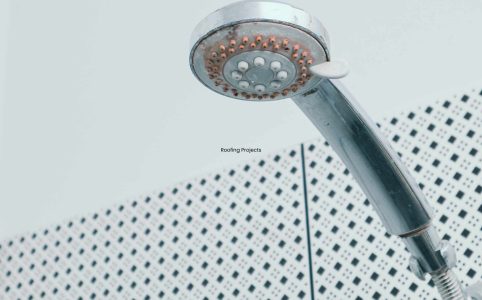
An electric shower is a convenient and efficient way to have a hot shower, however, like any other device it can break down or become outdated. Replacing an ele...