
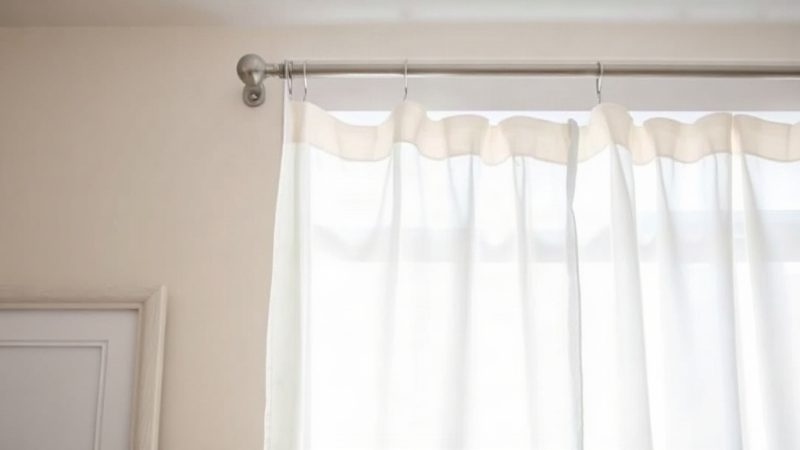
Few home projects look simpler than hanging a curtain rod—until you drill the first hole and wonder whether the brackets should sit at the very end of the rod or further in. To install curtain rod correctly, the brackets must land at the right height, the right width, and the right distance from the wall, all before you commit to a hole. Getting those three measurements right the first time is the whole game, as the planning guidance at //homeyplans.com consistently stresses.
Quick answer: Mount brackets roughly 4 to 6 inches beyond each side of the window frame, place them about 4 inches above the frame or higher to reach the ceiling line, and keep them 3 to 4 inches out from the wall so curtains clear the sill. Mark everything with a pencil and a level, confirm studs or anchors, then drill. Measure twice; drywall patches are harder than they look.
What is install curtain rod?
To install curtain rod is to mount a rod and its supporting brackets so that curtains hang evenly, open and close smoothly, and fully cover the window. The task has four parts: selecting the right rod and hardware, positioning the brackets, anchoring them securely, and hanging the curtains so they drape as intended. The bracket position is the step most people rush, and it is the step that determines whether the finished window looks balanced or slightly off.
Where brackets go, in plain terms
Brackets belong just outside the window opening on each side, not directly above the glass. A typical layout places a bracket 4 to 6 inches past each edge of the frame, so the finials and end returns of the rod sit beyond the trim. If the rod spans a wide window or a heavy curtain, add a third center support bracket to stop the rod from sagging.
Vertically, most installers place brackets about 4 inches above the top of the window frame. Hanging the rod higher—often 6 to 8 inches above the frame—makes a room feel taller and lets curtains fall from near the ceiling. Keep every bracket at exactly the same height, because a difference of even half an inch is visible once the curtains hang.
What the bracket set includes
Most rods ship with two brackets, screws, wall anchors, and sometimes a center support. Decorative rods may use adjustable or return-style brackets that hold the rod further from the wall. Before drilling, lay the hardware out and identify which screws are meant for wood and which are for anchors—the packaging rarely labels them clearly, so match length and thread type to the material.
Measuring before you mark
Measure the window width, add twice the side overhang you chose, and check that the rod is long enough. Then measure the distance from the frame to where you want the brackets to sit, and from the floor or ceiling to the bracket height. Transfer those numbers to the wall with a pencil and confirm them with a level before any drilling begins.
Takeaway: Bracket placement—side overhang, height, and equal spacing—decides the final look more than the rod itself, so plan it on paper first.
Why install curtain rod matters
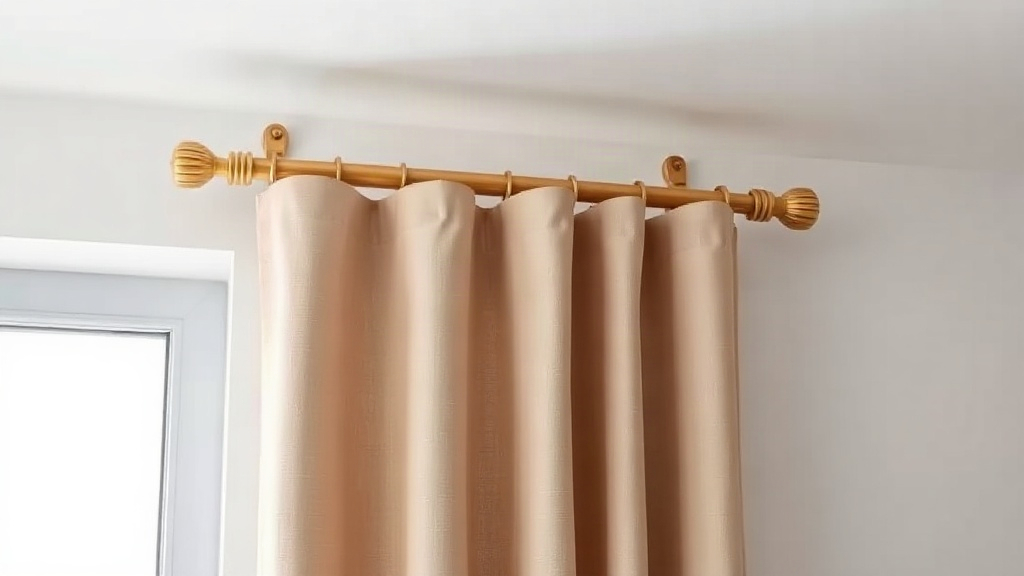
Brackets that sit in the wrong place cause problems that no amount of styling can hide. If they are too close to the window, curtains block light poorly and bunch against the trim. If they are too far out, the rod may span beyond the wall’s support and the curtains will look disconnected from the window. Correct placement controls light, privacy, and the apparent size of the room.
Light, privacy, and the feel of the room
Curtains that extend past the frame by several inches on each side close more completely, so less light leaks around the edges at night. Raising the rod above the frame also lets daylight in through the top of the window during the day. These are small changes, but together they make a room feel more finished and less like a temporary fix.
Safety and structural concerns
A curtain rod looks light, but curtains plus hardware can weigh several pounds, and a heavy blackout panel adds more. Brackets anchored only into drywall with short screws can pull free, especially when someone yanks a curtain closed. Finding studs or using rated anchors is not optional for wide windows or heavyweight fabrics—it is the difference between a fixture that holds for years and one that drops. When renovating or rethinking a room’s layout alongside window treatments, the structural advice on houseneedy can help you plan the broader project rather than treating the rod as an isolated task.
Why the details are worth the extra time
Brackets set at equal heights, with the rod level, make curtains hang straight and draw evenly along the rod. That small precision is what separates a tidy window from one that always looks slightly crooked. The hardware is hidden behind fabric most of the time, but its placement is what the fabric reveals.
Takeaway: Good bracket placement protects the wall, improves light control, and makes ordinary curtains look considered.
Best practices
Plan every bracket position before drilling, then drill once. The sequence below has worked reliably in our tests across standard drywall, plaster, and wood-trimmed windows, and it removes most of the guesswork.
Step 1: Choose the side overhang
Extend the rod 4 to 6 inches past each side of the window frame. A narrow window may take less; a wide window or one with bulky curtains benefits from more. Mark both outer bracket points on the wall with a pencil.
Step 2: Set the height
Place brackets about 4 inches above the frame for a standard look, or 6 to 8 inches higher to draw the eye upward. Use a level to transfer the same height to the second bracket, and mark a faint reference line between them.
Step 3: Confirm the wall-distance clearance
Hold a bracket against the wall and check that the rod will sit 3 to 4 inches out from the wall. Curtains need this gap to slide past deep sills, radiators, or window cranks. Adjustable brackets make this easier—set them before mounting.
Step 4: Find studs or use proper anchors
Knock along the wall or use a stud finder, and mark any studs behind the bracket points. Screw into studs where possible. Where no stud is available, use wall anchors rated for the load, and drill holes the exact diameter the anchor specifies.
| Bracket location | Typical distance | Why it works |
|---|---|---|
| Side of window | 4–6 in past frame | Curtains clear trim and close fully |
| Above window | 4 in above frame | Standard, balanced look |
| Above window (tall look) | 6–8 in above frame | Makes ceiling feel higher |
| Out from wall | 3–4 in | Curtains slide past sills and trim |
Step 5: Mount, level, and test
Attach the brackets, set the rod in place, and check the level again. Open and close the curtains a few times before final tightening. If the rod bows or the curtains catch, add the center support bracket—it is far easier now than after the room is finished.
Takeaway: Mark, level, anchor, and test in that order; a two-minute check with a level saves a patched wall.
Common mistakes to avoid
Most curtain-rod problems trace back to the same handful of errors. Avoiding them is simpler than fixing them later.
Measuring from the glass instead of the frame
Brackets measured from the glass rather than the frame often end up too close, leaving curtains bunched against the window. Always measure from the outer edge of the trim or frame.
Skipping the stud check
Short screws into bare drywall are the most common cause of a falling rod. Use studs or rated anchors, and match the anchor to the wall type—plaster and drywall behave differently.
Ignoring the curtain weight
Heavy blackout or lined curtains need a third center bracket and stronger anchors. Check the rod’s stated weight limit and add support before the rod sags.
Forgetting the finials and end clearance
Decorative finials add length beyond the bracket. Measure the rod with finials attached, or the assembled rod may not fit between the brackets.
Mounting too low out of habit
The old habit of placing the rod right at the frame can make a room feel shorter. Try the higher position first; it is easy to lower a rod but harder to raise it once the wall is drilled.
Takeaway: Measure from the frame, anchor properly, and plan for the real weight of the curtains.
FAQ
How far apart should curtain rod brackets be?
Place a bracket 4 to 6 inches beyond each side of the window frame. For rods wider than about 6 feet or for heavy curtains, add a center support so the rod does not bow.
Should I mount the rod into studs or use drywall anchors?
Studs are always preferable when they line up with your bracket points. When they do not, use wall anchors rated for the curtain weight, and avoid short screws that only grip the drywall surface.
How high above the window should the rod go?
About 4 inches above the frame suits most rooms. A height of 6 to 8 inches above the frame makes the ceiling feel higher and works well with floor-length curtains.
Can I install a curtain rod on a plaster wall?
Yes, but drill carefully and use anchors designed for plaster, since it can crumble around a hole. A small pilot hole and slow drill speed reduce the risk of cracking.
Do I need a center bracket for a wide window?
Yes, most rods over 6 feet wide need a center support. Without one, the rod sags in the middle and curtains catch when you pull them.
Conclusion
Bracket placement is the core of any successful curtain rod job. Side overhang of 4 to 6 inches, height that suits the room, a consistent 3 to 4 inches of wall clearance, and secure anchoring will give you curtains that hang straight and close fully. Before you drill, mark every point, check them with a level, and confirm where the studs are. Then mount the brackets, hang the rod, and test the curtains once before you call it done. Your next step is simple: gather the rod, a pencil, a level, and a stud finder, and measure your window today.
