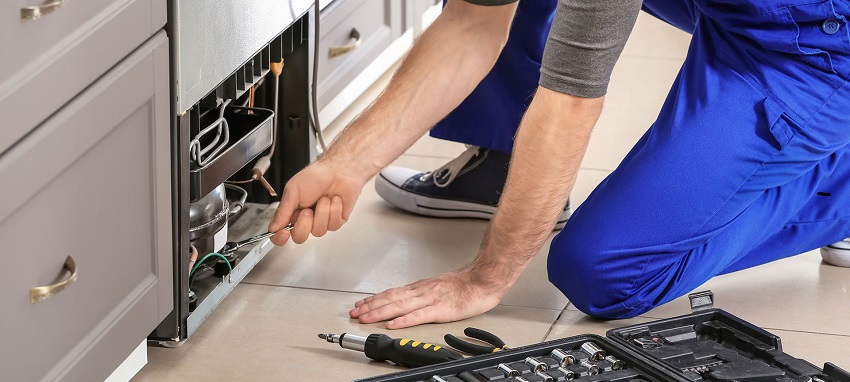
Dryer bearings, also known as drum bearings, are an essential part of your dryer’s operation. Over time, they can wear down, causing your dryer to become noisy and inefficient. Luckily, replacing dryer bearings is a simple and affordable DIY project that anyone can tackle with a few basic tools and a bit of patience. In this article, we’ll guide you through the steps necessary to change your dryer bearings and restore your appliance to its full functionality.
Step-by-Step Guide: How to Change Dryer Bearings
Step 1: Gather Your Tools
Before you begin, you’ll need a few tools to make the job easier. These include a screwdriver, pliers, a putty knife, and a socket wrench. You’ll also need replacement bearings, which you can purchase from most home improvement stores or online retailers. Make sure you have the correct bearings for your specific dryer model.
Step 2: Unplug Your Dryer
Before you start working on your dryer, it’s essential to unplug it from the power source. This will prevent any accidents from happening while you’re working on it.
Step 3: Remove the Front Panel
Next, you’ll need to remove the front panel of your dryer. To do this, locate the screws that hold it in place and use your screwdriver to remove them. Once the screws are out, carefully pull the panel away from the dryer.
Step 4: Remove the Drum
With the front panel off, you can now access the drum of your dryer. Use your socket wrench to loosen the bolts holding the drum in place. You may need to use pliers to help loosen them. Once the bolts are loose, gently lift the drum out of the dryer and set it aside.
Step 5: Replace the Bearings
With the drum removed, you can now access the bearings. Use your putty knife to carefully pry them out of the dryer. Make sure to remove any debris or dust that may have accumulated around the bearings. Insert the new bearings into the same position as the old ones and press them firmly into place. Here you can replace your dryer bearings with a hassle-free solution.
Step 6: Reassemble Your Dryer
Once the new bearings are in place, it’s time to reassemble your dryer. Start by placing the drum back into the dryer and tightening the bolts with your socket wrench. Then, replace the front panel and secure it with the screws.
Step 7: Test Your Dryer
Now that your dryer is back together, it’s time to test it out. Plug it back in and turn it on to make sure everything is working correctly. If you notice any issues, such as excessive noise or vibration, you may need to readjust the bearings.
Final Thoughts
In conclusion, changing your dryer bearings is a relatively simple DIY project that can save you both time and money. With the right tools and a bit of patience, you can restore your dryer to its full functionality and keep it running smoothly for years to come.

