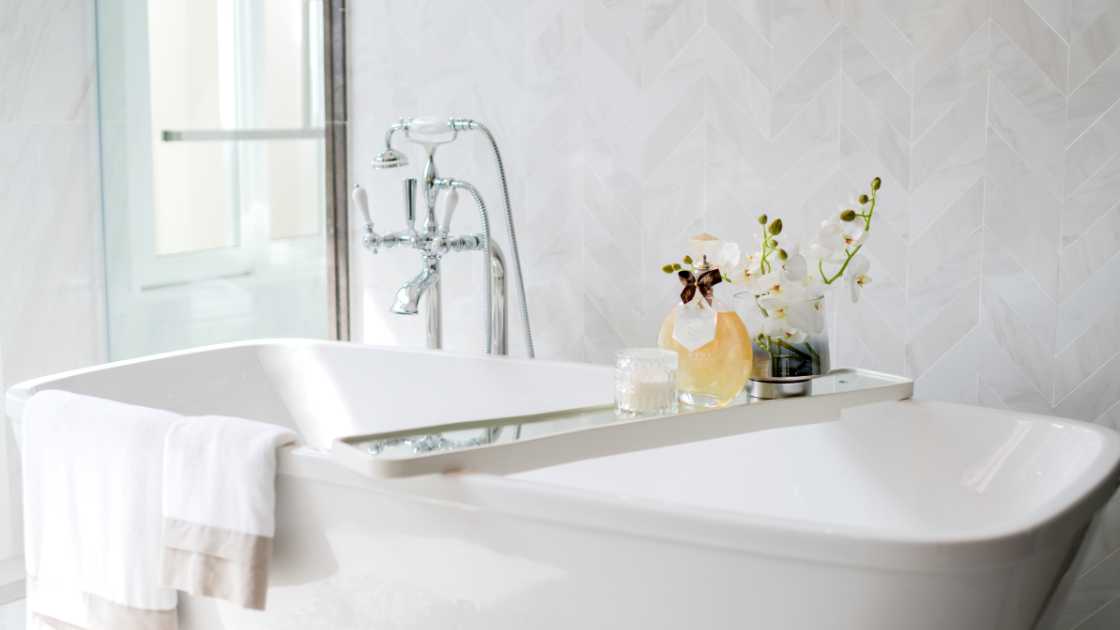
Installing a tub surround is a rewarding DIY project that can give your bathroom a fresh, updated look while protecting your walls from moisture and damage. Whether you’re a seasoned DIY enthusiast or a beginner, this step-by-step guide will help you successfully install a tub surround and transform your bathroom into a stylish oasis.
There are 10 Effective Steps to Install a Tub Surround
Gather Your Materials and Tools
Before you begin, make sure you have all the necessary materials and tools:
- Tub surround kit
- Measuring tape
- Level
- Utility knife
- Caulk gun
- Adhesive (usually provided in the kit)
- Screws
- Screwdriver
- Putty knife
- Sandpaper
- Safety goggles and gloves
Prepare Your Work Area
To ensure a smooth installation process, it’s important to prepare your bathroom properly:
- Remove any fixtures or obstacles around the tub area.
- Clean the walls to remove dirt, grease, and old caulk.
- Make sure the walls are smooth and even. Sand down any rough patches or protrusions.
Measure and Cut the Surround Panels
Measure the height and width of the tub area where you plan to install the surround. Then, mark these measurements on the panels included in your tub surround kit. Use a utility knife to carefully cut the panels to size. Ensure the cut is precise and fits snugly against the walls and tub.
Dry Fit the Panels
Before applying adhesive, do a dry fit to ensure the panels fit correctly. Start with the back panel and work your way around the tub. Make any necessary adjustments by trimming or sanding the panels if they don’t fit perfectly.
Apply Adhesive
Using a caulk gun, apply adhesive to the back of the first panel. Be generous with the adhesive but avoid excessive blobs that could create unevenness. Press the panel firmly against the wall and tub. Use a level to ensure it’s perfectly vertical and horizontal.
Secure the Panels
To reinforce the adhesive bond, insert screws along the edges of the panels and into the wall studs. Make sure the screws are evenly spaced and don’t overtighten, as this can damage the panel. Repeat this process for all the panels, ensuring they overlap correctly.
Seal the Joints
Once all the panels are securely in place, it’s time to seal the joints. Apply caulk along the seams where the panels meet and at the edges where they meet the tub. Smooth the caulk with a putty knife or your finger for a clean finish. Wipe away any excess caulk with a damp cloth.
Allow Time to Dry
Give the adhesive and caulk ample time to dry and cure as per the manufacturer’s instructions. This typically takes 24-48 hours. Avoid using the shower or bathtub during this period.
Reattach Fixtures
After the adhesive and caulk have fully cured, reattach any fixtures and accessories that you removed during the preparation stage. This includes faucets, showerheads, and any other bathroom hardware.
Enjoy Your New Tub Surround
Once everything is in place and dried, step back and admire your handiwork. Your new tub surround not only adds a fresh look to your bathroom but also provides essential protection against moisture and water damage.
FAQs
What are the key benefits of installing a tub surround?
Installing a tub surround offers several benefits. Firstly, it provides a protective barrier against moisture, preventing water damage to your walls and underlying structures. Secondly, it gives your bathroom a fresh and updated appearance without the need for a full renovation. Tub surrounds are also relatively easy to clean and maintain compared to tiled walls. Additionally, they can help increase the resale value of your home by improving the overall look and functionality of your bathroom.
Can I install a tub surround over existing tiles?
Yes, you can install a tub surround over existing tiles, but it’s essential to prepare the surface properly. Ensure that the existing tiles are in good condition, clean, and free from any loose or damaged pieces. You may need to sand or level the tile surface to create a smooth and even base for the tub surround panels. Make sure to follow the manufacturer’s instructions for adhesive application, and consider using a tile primer to enhance adhesion. Properly preparing the existing tile surface will help ensure a successful tub surround installation.
How long does it take to install a tub surround?
The time required to install a tub surround can vary depending on your level of experience, the complexity of your bathroom layout, and the specific tub surround kit you are using. On average, a straightforward installation can take one to two days. This includes the time for measuring, cutting, applying adhesive, securing panels, sealing joints, and allowing the adhesive and caulk to dry. Keep in mind that it’s crucial to follow the manufacturer’s recommended drying times for adhesive and caulk to ensure a durable and long-lasting installation.
Conclusion
Installing a tub surround is a manageable DIY project that can enhance the appearance and functionality of your bathroom. By following these steps and taking your time, you’ll have a beautiful and durable tub surround that you can enjoy for years to come. So, roll up your sleeves and get ready to transform your bathroom!

