Table of Contents
ToggleA Creative Touch: How to Paint Your KitchenAid Mixer
Materials Needed
- Screwdriver: You’ll need this to disassemble your mixer and remove the necessary parts for painting.
- Sandpaper or Steel Wool: To roughen the surface of the mixer slightly, allowing the paint to adhere better.
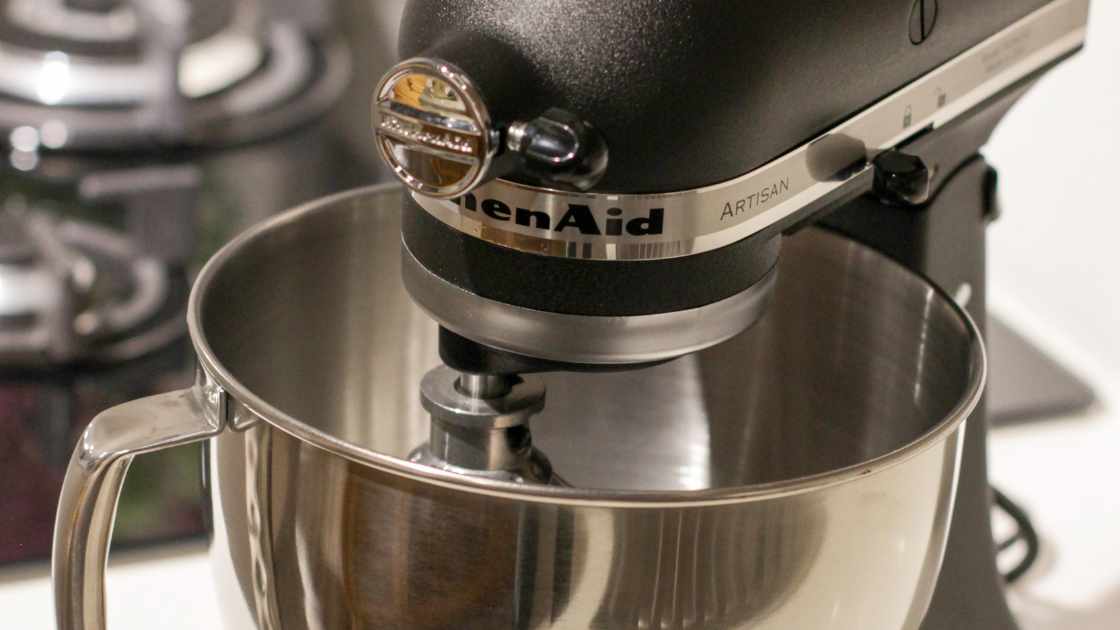
- Painter’s Tape: Use this to cover any areas you don’t want to paint, such as buttons or the KitchenAid logo.
- Primer: Choose a primer suitable for metal surfaces to ensure proper adhesion of the paint.
- High-Quality Paint: Opt for enamel or acrylic paint designed for metal surfaces. Consider using spray paint for a smooth finish.
- Paintbrushes or Spray Paint: Depending on your preference and the design you have in mind.
- Clear Sealant or Topcoat: To protect your paint job and ensure its longevity.
- Well-Ventilated Area: Ensure you’re working in a space with good ventilation to avoid inhaling fumes.
Step-by-Step Guide
Disassembly
Start by unplugging your KitchenAid mixer. Use a screwdriver to remove any detachable parts, such as the bowl, beater, and attachments. This will make the painting process more manageable.
Surface Preparation
Use sandpaper or steel wool to lightly roughen the surface of the mixer. This will help the primer and paint adhere better. Wipe away any dust with a clean, damp cloth.
Masking
Cover any areas you don’t want to paint with painter’s tape. This includes buttons, the KitchenAid logo, and any other sensitive parts. Ensure the tape is securely applied to avoid paint seepage.
Priming
Apply a thin, even coat of primer to the entire surface of the mixer. Follow the manufacturer’s instructions for drying times. The primer creates a smooth base for the paint to adhere to.
Painting
Once the primer is completely dry, apply the first coat of paint. Whether using a brush or spray paint, ensure even coverage. Allow each coat to dry before applying the next. Multiple thin coats are better than one thick coat to prevent drips.
Detail Work
If you’re feeling artistic, this is the time to add details or additional colors. Allow each layer to dry before moving on to the next.
Sealing
Once you’re satisfied with the paint job, let it dry completely before applying a clear sealant or topcoat. This step protects the paint and ensures the longevity of your customized design.
Reassembly
After the topcoat has dried, carefully remove the painter’s tape. Reassemble your KitchenAid mixer, ensuring all parts are securely attached.
FAQs
Can I paint my KitchenAid mixer without disassembling it?
While it’s technically possible to paint your KitchenAid mixer without disassembling it, we highly recommend disassembly for a more professional and thorough result. Removing detachable parts such as the bowl, beater, and attachments allows for better coverage, ensuring that every nook and cranny receives the desired finish.
What type of paint is best for a KitchenAid mixer?
For a KitchenAid mixer, it’s advisable to use enamel or acrylic paint designed specifically for metal surfaces. Spray paint is a popular choice for achieving a smooth and even finish. Ensure the paint is suitable for appliances and can withstand regular cleaning to maintain the longevity of your customized design.
Can I add artistic details to my painted KitchenAid mixer?
Absolutely! Adding artistic details to your painted KitchenAid mixer is a great way to personalize it. Once the base coats are dry, you can use fine brushes to add intricate designs or additional colors. Just be sure to let each layer dry thoroughly before applying the next to achieve the best results.
Final Thought
Painting your KitchenAid mixer can be a rewarding and enjoyable project that adds a personal touch to your kitchen. With the right materials, careful preparation, and a bit of creativity, you can transform your kitchen workhorse into a unique and eye-catching centerpiece. So, unleash your artistic side, and give your KitchenAid mixer a makeover that reflects your style and flair.

