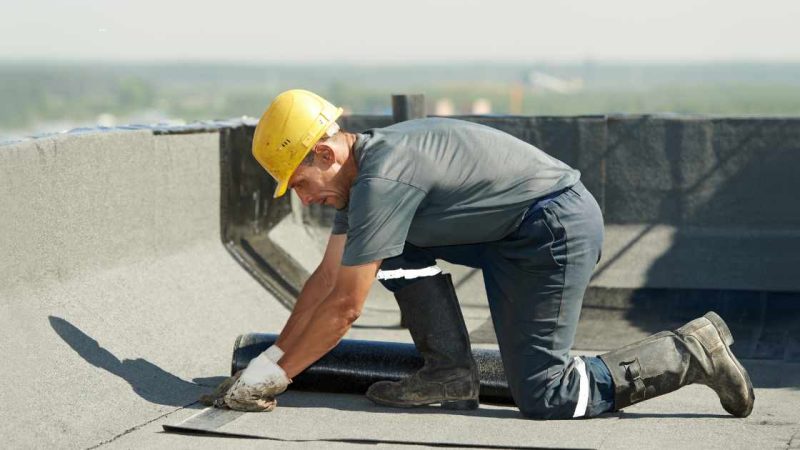
Flat roofs, while modern and sleek in design, require careful consideration when it comes to drainage. Unlike sloped roofs, where gravity assists in water runoff, flat roofs rely on a well-designed drainage system to prevent water pooling, leaks, and structural damage. Understanding the mechanics of how flat roofs drain is crucial for homeowners, architects, and contractors alike.
Understanding the Mechanics: How Do Flat Roofs Drain?
Importance of Proper Drainage
Effective drainage is paramount for flat roofs due to their horizontal orientation. Without proper drainage, water can accumulate on the roof surface, leading to a host of problems including:
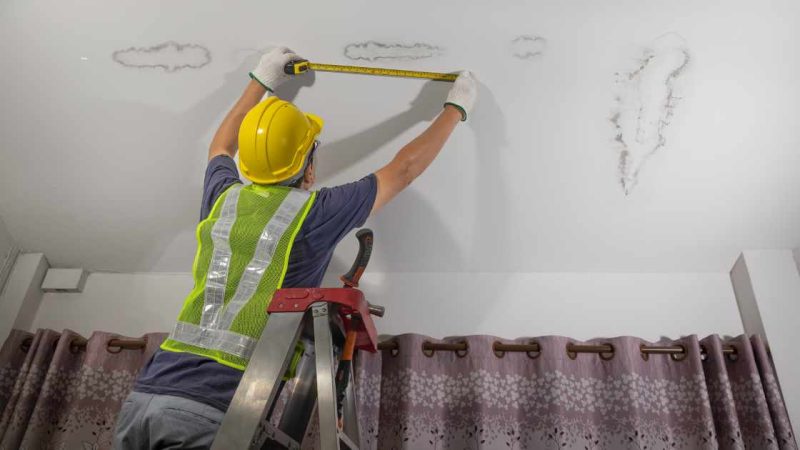
Water Damage: Pooled water can seep into roofing materials, causing degradation and leaks.
Structural Issues: The weight of standing water can strain the roof structure, leading to sagging or even collapse.
Mold and Mildew: Excess moisture creates an ideal environment for mold and mildew growth, which can compromise indoor air quality and pose health risks.
Components of Flat Roof Drainage Systems
Flat roof drainage systems typically consist of several key components:
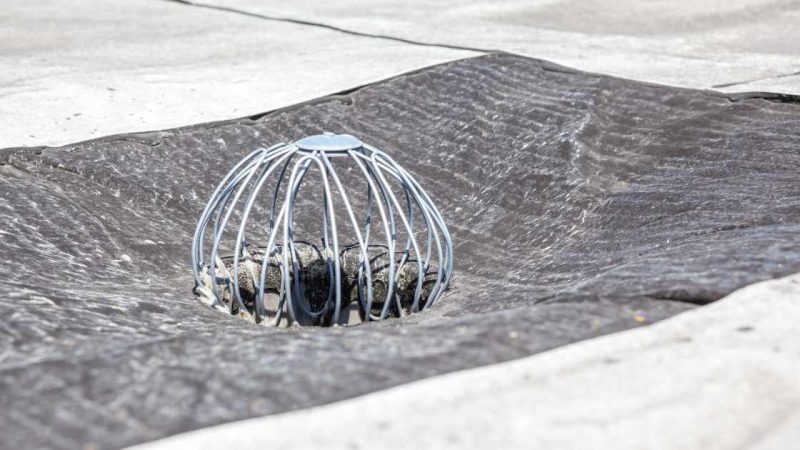
Internal Drains: Located at low points on the roof, internal drains collect water and direct it through pipes to the building’s drainage system. These drains are typically covered by grates to prevent debris from clogging the system.
Scuppers: Scuppers are openings along the edges of the roof that allow water to flow off the roof and into downspouts or gutters. They are often incorporated into parapet walls or installed directly through the roof membrane.
Gutters and Downspouts: In some flat roof designs, gutters and downspouts are used to collect water from scuppers or internal drains and channel it away from the building’s foundation. Regular maintenance is essential to ensure gutters remain clear of debris.
Roof Slope: While flat roofs appear entirely level, they actually have a slight slope (typically between ¼ to ½ inch per foot) to facilitate water runoff. This subtle slope directs water towards drains and scuppers.
Drainage Design Considerations
Designing an effective drainage system for a flat roof requires careful planning and consideration of various factors:
Climate: The amount of rainfall and frequency of storms in the region will influence the size and capacity of the drainage system.
Roof Size and Shape: The larger the roof surface area, the more complex the drainage system may need to be. Irregularly shaped roofs may require additional drains or scuppers to ensure proper water runoff.
Roofing Materials: The type of roofing membrane used can affect drainage. Some materials are more prone to ponding water than others.
Maintenance Accessibility: Drainage components should be easily accessible for inspection and maintenance to prevent clogs and ensure optimal performance.
Maintenance and Inspection
Regular maintenance and inspection are essential for preserving the functionality of a flat roof drainage system. Homeowners and building managers should:
Clear Debris: Regularly remove leaves, branches, and other debris from gutters, scuppers, and drains to prevent blockages.
Check for Damage: Inspect roofing materials, seals, and drainage components for signs of wear, damage, or deterioration.
Address Issues Promptly: Address any drainage problems promptly to prevent water damage and costly repairs.
Faqs
How do flat roofs drain water?
Flat roofs utilize a combination of internal drains, scuppers, and roof slope to facilitate water runoff. Internal drains collect water at low points on the roof and direct it through pipes to the building’s drainage system. Scuppers are openings along the roof edges that allow water to flow off the roof and into downspouts or gutters. Additionally, a subtle slope in the roof directs water towards drains and scuppers for efficient drainage.
What are the common components of a flat roof drainage system?
Common components of a flat roof drainage system include internal drains, scuppers, gutters, downspouts, and the roof’s slope. Internal drains collect water from the roof surface and direct it through pipes. Scuppers allow water to flow off the roof edges. Gutters and downspouts may be used to channel water away from the building’s foundation. The roof’s subtle slope aids in directing water towards drainage points.
How important is maintenance for flat roof drainage systems?
Maintenance is crucial for ensuring the proper function and longevity of flat roof drainage systems. Regularly clearing debris from gutters, scuppers, and drains prevents blockages and allows for unimpeded water flow. Inspecting roofing materials, seals, and drainage components for damage or deterioration helps identify issues early on. Promptly addressing any drainage problems prevents water damage and costly repairs, preserving the integrity of the roof and the building structure.
Final Thought
While flat roofs offer aesthetic appeal and architectural flexibility, their unique design requires careful consideration of drainage. By understanding the mechanics of how flat roofs drain and implementing proper drainage systems, homeowners and building professionals can ensure the longevity and performance of flat roof structures. Regular maintenance and inspection are key to preventing water-related issues and preserving the integrity of the roof and building envelope.