Selecting the best flat roof system involves considering several factors, including durability, cost-effectiveness, maintenance requirements, and suitability for your specific building and climate. Whether you’re constructing a new building or replacing an existing roof, making an informed decision is crucial for long-term satisfaction and performance.
Here’s an in-depth look at some of the most popular flat roof systems available today:
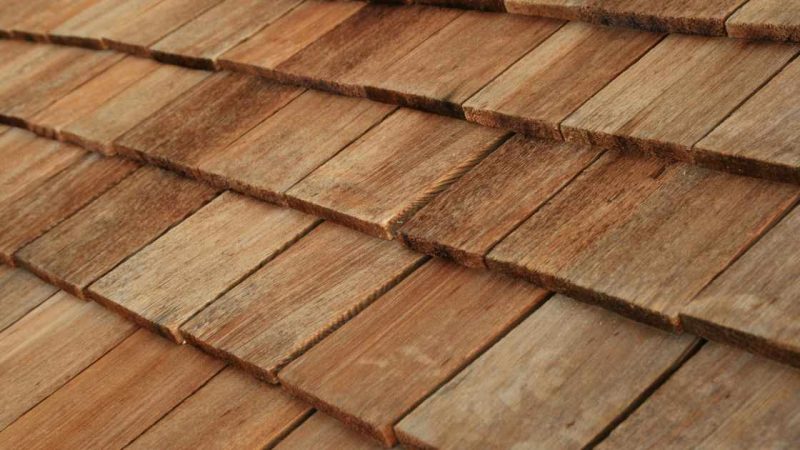
Built-Up Roofing (BUR)
Overview: Built-Up Roofing, commonly known as BUR, consists of multiple layers of roofing felt or fabric, alternated with layers of bitumen (asphalt or coal tar). These layers are topped with a layer of gravel or mineral granules for protection.
Benefits:
Proven Durability: Known for its longevity, BUR systems can last 20 years or more with proper maintenance.
Fire Resistance: The multiple layers provide excellent fire resistance.
Cost-Effective: Initially cost-effective due to its durability and relatively low maintenance requirements.
Considerations:
Weight: BUR systems can be heavy, requiring a robust building structure to support the weight.
Installation Complexity: Installation involves heating and applying bitumen, which can be labor-intensive and may require professional installation.
Modified Bitumen Roofing
Overview: Modified Bitumen Roofing is an evolution of BUR, featuring layers of bitumen reinforced with modifiers like fiberglass or polyester. It is typically installed in multiple plies, often with a mineral surface for UV protection.
Benefits:
Flexibility: Offers more flexibility than traditional BUR, making it suitable for buildings with structural movement.
UV Resistance: The mineral surface provides UV protection, enhancing longevity.
Ease of Repair: Can be relatively easy to repair and maintain compared to other systems.
Considerations:
Installation: Requires torching or using cold adhesives, which should be handled carefully to avoid fire hazards.
Vulnerability to Puncture: The surface can be vulnerable to punctures during installation and over its lifespan.
EPDM (Ethylene Propylene Diene Terpolymer)
Overview: EPDM is a synthetic rubber roofing membrane known for its durability and flexibility. It is available in large sheets that are adhered, mechanically fastened, or ballasted over the roof substrate.
Benefits:
Durability: EPDM roofs can last 30 years or more with proper maintenance.
Flexibility: Maintains flexibility in extreme temperatures, reducing the risk of cracks.
Ease of Installation: Can be installed quickly and relatively easily, reducing labor costs.
Considerations:
Seam Vulnerability: Seams can be vulnerable to leaks if not properly sealed during installation.
UV Protection: EPDM may require periodic application of UV protectants to extend its lifespan.
PVC (Polyvinyl Chloride)
Overview: PVC roofing membranes are single-ply systems made of synthetic plastic polymers. They are heat-welded at seams to create a durable, waterproof barrier.
Benefits:
Durability: PVC roofs are highly resistant to chemicals, punctures, and fire.
Energy Efficiency: Reflective surfaces can help reduce cooling costs by reflecting sunlight.
Low Maintenance: Requires minimal maintenance over its lifespan.
Considerations:
Cost: PVC roofs can be more expensive than some other flat roof systems, though they offer long-term savings in energy costs and maintenance.
Installation: Requires skilled installation to ensure proper heat welding of seams and corners.
Choosing the Right System
When selecting the best flat roof system for your building, consider factors such as climate, building usage, budget, and maintenance capabilities. Consult with roofing professionals to assess your specific needs and obtain detailed quotes. Remember, proper installation and regular maintenance are key to maximizing the lifespan and performance of any flat roof system.
FAQs
What factors should I consider when choosing a flat roof system?
Consider factors such as durability, cost-effectiveness, maintenance requirements, suitability for your building’s structure, climate compatibility, and energy efficiency. Assessing these factors will help you determine the best option for your needs.
How long do flat roof systems typically last?
The lifespan of flat roof systems varies depending on the material and maintenance. Built-Up Roofing (BUR) and Modified Bitumen can last 20-30 years, while EPDM and PVC membranes can last 30 years or more with proper care and maintenance.
Are flat roof systems suitable for all climates?
Flat roof systems can be suitable for various climates, but it’s crucial to choose a material that offers adequate insulation and weather resistance for your specific climate. EPDM and PVC are known for their flexibility and durability across different weather conditions, while BUR and Modified Bitumen are durable but may require additional weatherproofing measures in extreme climates.
Final Thought
Each flat roof system offers unique advantages and considerations. The best choice depends on factors such as durability, installation complexity, maintenance requirements, and budget constraints. By understanding the characteristics of each system and assessing your building’s needs, you can make an informed decision that ensures years of reliable protection and performance for your property.