When working on DIY projects or home improvements, you may encounter a common challenge: the need to move screw holes slightly. Whether you’re hanging a picture frame, installing a shelf, or assembling furniture, ensuring that your screws align perfectly can make a significant difference in the end result. In this article, we will guide you through the process of moving screw holes slightly to achieve the precision you need for your projects.
There are 6 Effective Process of Moving Screw Holes Slightly
Assess the Situation
Before you start moving screw holes, take a moment to assess the situation. Determine why you need to move the holes. Are they misaligned? Are they too close to the edge of the material? Understanding the problem will help you decide on the best approach for correction.
Tools and Materials
Gathering the right tools and materials is essential for this task. Depending on the material you are working with, you may need:
- Screwdriver or drill
- Screws
- Pencil
- Ruler or measuring tape
- Sandpaper or a file
- Wood putty (for wood projects)
Fill and Redrill (For Wood)
If you are working with wood and need to move screw holes, you can fill the existing holes and redrill in a new location. Here’s how:
- Remove the screws from the existing holes.
- Apply wood putty to the old screw holes and let it dry completely.
- Once the wood putty is dry, sand it down to create a smooth, even surface.
- Measure and mark the new hole locations.
- Drill new pilot holes in the marked locations.
- Screw in the screws, and you’re done.
Pilot Holes and Anchors
When moving screw holes in materials like drywall or concrete, it’s essential to create pilot holes and use anchors for stability. Follow these steps:
- Determine the new hole locations and mark them with a pencil.
- Use a drill with an appropriate drill bit to create pilot holes in the new locations.
- Insert anchors into the pilot holes. Anchors provide stability and prevent the screws from slipping.
- Screw in the screws through the anchors into the new holes.
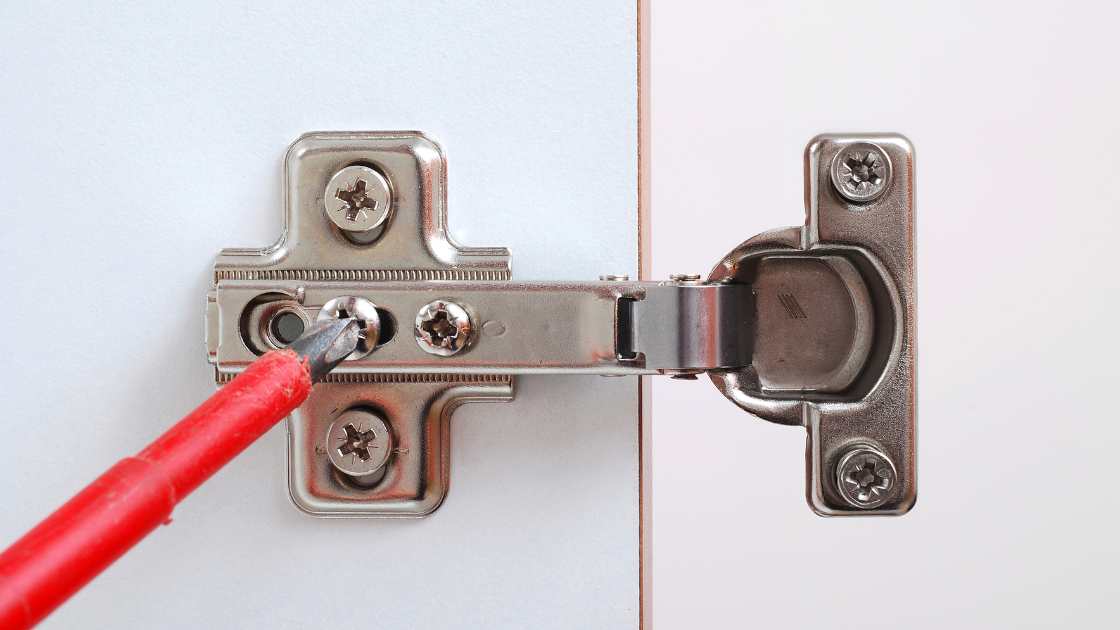
Use a Screw Hole Adapter
Screw hole adapters, also known as offset brackets, can be used when you need to move screw holes slightly without altering the original holes. These adapters allow you to shift the screw placement without creating new holes.
- Position the adapter over the existing screw holes.
- Secure the adapter in place with the original screws.
- Attach your item to the adapter, aligning it with the new screw holes.
Double-Check Alignment
After moving the screw holes, double-check the alignment to ensure everything is secure and level. Make any necessary adjustments before tightening the screws completely.
FAQs
Can I move screw holes in wood without creating new holes?
Yes, you can move screw holes in wood without creating new holes. To do this, you can fill the existing holes with wood putty, which is a common practice in woodworking. Here’s how:
- Remove the screws from the existing holes.
- Apply wood putty to the old screw holes and let it dry completely.
- Once the wood putty is dry, sand it down to create a smooth, even surface.
- Measure and mark the new hole locations.
- Drill new pilot holes in the marked locations.
- Screw in the screws into the new holes.
This method allows you to reposition the screw holes without compromising the integrity of the wood.
What do I need to move screw holes in materials like drywall or concrete?
When moving screw holes in materials like drywall or concrete, you’ll need the following tools and materials:
- A drill with an appropriate drill bit for the material.
- Screws suitable for the new hole locations.
- Anchors (wall plugs) to provide stability in the new holes.
- A measuring tape and pencil to mark the new hole locations.
Follow these steps to move screw holes in these materials:
- Determine the new hole locations and mark them with a pencil.
- Use the drill to create pilot holes in the new locations.
- Insert anchors into the pilot holes to provide stability.
- Screw in the screws through the anchors into the new holes.
Are there any products that can help me move screw holes without creating new ones?
Yes, there are products designed to help you move screw holes without creating new ones. Screw hole adapters, also known as offset brackets, can be particularly useful in such situations. Here’s how to use them:
- Position the adapter over the existing screw holes.
- Secure the adapter in place with the original screws.
- Attach your item to the adapter, aligning it with the new screw holes on the adapter.
These adapters allow you to shift the screw placement without the need for additional drilling, making them a convenient solution for various DIY projects, especially when you want to maintain the original hole locations.
Conclusion
Moving screw holes slightly may seem like a small task, but it’s an essential skill for any DIY enthusiast or home improvement enthusiast. By following the steps outlined in this article, you can confidently tackle various projects and achieve precise and professional results. Remember to assess the situation, gather the right tools and materials, and choose the method that best suits your project’s needs. Whether you’re working with wood, drywall, or concrete, these techniques will help you achieve the precision you desire.