Imagine stepping into your morning shower, expecting a refreshing cascade of water, only to dodge an awkward spray that’s off to one side, leaving half your body dry while the other gets soaked. It’s a common frustration that raises a key question in bathroom renovations: Does a shower head need to be centered? If you’re planning a remodel or just tweaking your existing setup, this dilemma can make or break your daily routine. In this comprehensive guide, we’ll dive deep into shower head placement, exploring functionality, aesthetics, and practical tips to help you create a more enjoyable bathing experience. Whether you’re a DIY enthusiast or hiring a professional, understanding the nuances of shower arm positioning and overall bathroom layout can save you time, money, and headaches.
The Basics of Shower Head Placement: Why It Matters
Shower head positioning isn’t just about where the water falls—it’s a blend of ergonomics, plumbing realities, and personal preference. Traditionally, many homeowners assume that centering the shower head in the middle of the shower stall or tub is a must for optimal performance. But is this always the case? Let’s break it down.
In standard bathroom designs, a centered shower head ensures even water distribution across your body, promoting comfort and efficiency. This setup aligns with how most showers are built, where the shower arm extends directly from the wall at a central point. However, modern bathroom trends are challenging this norm. With the rise of spacious walk-in showers, luxurious rain shower systems, and customizable fixtures, off-center placements are gaining popularity. Factors like the size of your shower enclosure, the type of shower head (fixed, handheld, or rainfall), and even your height play crucial roles in determining the best spot.
According to plumbing experts, there’s no universal building code mandating that shower heads be perfectly centered. Instead, guidelines from organizations like the International Plumbing Code focus on safety and accessibility, such as ensuring the shower head is at a height between 72 and 78 inches for most adults. This flexibility allows for creative shower design ideas that prioritize user comfort over rigid symmetry. For instance, in smaller bathrooms, shifting the shower head slightly to one side might accommodate better storage or avoid interfering with nearby fixtures.
Advantages of Centered Shower Heads
Pros of Centering Your Shower Head
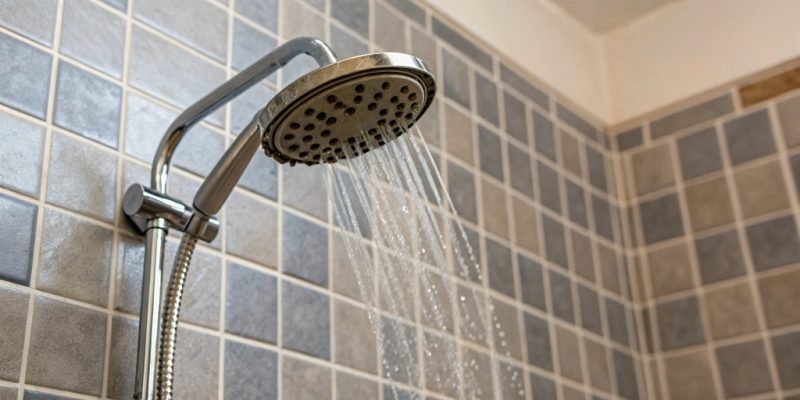
Centering the shower head offers several advantages that make it a go-to choice for many. First and foremost, it provides balanced water coverage. When positioned in the middle, the spray pattern covers a wider area, reducing the need to constantly adjust your stance. This is especially beneficial in family bathrooms where users of varying heights share the space—think kids and adults alike enjoying a consistent flow without awkward maneuvering.
Aesthetically, a centered setup contributes to a symmetrical bathroom layout, which can enhance the overall visual appeal. In terms of resale value, homes with well-balanced shower installations often appeal more to buyers looking for polished, professional designs. Plus, from an installation perspective, centering aligns with existing plumbing lines in most homes, minimizing the need for extensive rerouting of pipes. This can keep costs down during a bathroom renovation, as you’re less likely to encounter surprises like hidden leaks or structural modifications.
Consider a standard tub-shower combo: centering the shower head above the tub’s midpoint ensures water drains efficiently without pooling on the edges, preventing potential slip hazards. For those incorporating water-saving features, like low-flow shower heads, a central position maximizes efficiency by directing water where it’s needed most—right over the user.
When Centering Isn’t Ideal: Cons and Alternatives
Despite its benefits, centering isn’t always the best option. In irregularly shaped showers or those with built-in benches, a centered shower head might lead to uneven coverage or wasted water splashing against walls. For taller individuals, a central placement could mean the spray hits too low, causing discomfort. Similarly, in en-suite bathrooms with limited space, forcing a center alignment might compromise other elements, like towel racks or lighting.
Off-center shower head placements can address these issues effectively. For example, positioning the fixture closer to the entry point allows for easier access, ideal for mobility-challenged users. This approach also opens up possibilities for multi-head systems, where one head is centered for a full-body rinse, and another is offset for targeted massage.
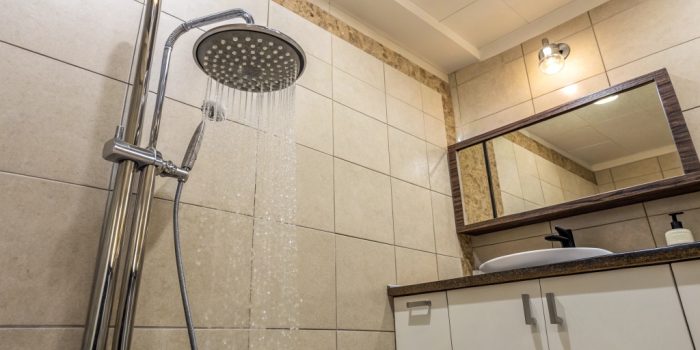
Exploring alternatives, handheld shower heads offer unparalleled flexibility. Attached to a hose, they can be mounted off-center and adjusted as needed, perfect for rinsing hard-to-reach areas or bathing pets and children. Rainfall shower heads, often ceiling-mounted, don’t require wall centering at all—they provide a luxurious, spa-like experience from above, distributing water evenly across a larger surface area. In contemporary shower stall designs, combining a fixed wall head with a handheld unit allows for customization without strict adherence to centering.
Another consideration is the shower valve location. If your plumbing setup has the controls off to the side, aligning the shower head nearby can simplify piping and reduce installation complexity. This is common in older homes undergoing updates, where preserving original plumbing saves on labor costs.
Key Factors in Shower Head Placement
To decide on the ideal shower head location, evaluate several factors. Start with user needs: Who will use the shower most? For households with elderly members, lower or adjustable heights might be necessary, potentially shifting the position for better reach. Height variations are crucial—standard recommendations suggest mounting at 78 inches, but customizing to 84 inches for taller users can prevent that “raining on your head” feeling.
Plumbing constraints are non-negotiable. Existing pipe locations often dictate feasibility; moving them requires professional help to avoid water damage or code violations. Budget plays a role too—simple adjustments like extending the shower arm cost less than full re-piping.
Aesthetic and functional design elements shouldn’t be overlooked. In minimalist bathrooms, an off-center placement might create a focal point, while in traditional setups, centering maintains harmony. Think about water pressure and flow: Poor positioning can exacerbate low-pressure issues, leading to unsatisfactory showers. Testing mock setups with temporary fixtures can help visualize the outcome before committing.
Environmental aspects, like water conservation, influence choices as well. Centered heads in efficient designs minimize runoff, aligning with eco-friendly bathroom trends. Materials matter too—brass or stainless steel arms provide durability for any position, ensuring longevity.
Shower Head Installation Guide
Step-by-Step Guide to Installing or Adjusting Your Shower Head
Ready to tackle installation? Here’s a practical guide to ensure proper shower fixture placement.
- Assess Your Space: Measure the shower area, noting pipe locations and user heights. Use painter’s tape to mark potential spots.
- Gather Tools and Materials: You’ll need a wrench, Teflon tape, a new shower arm if extending, and the shower head itself. Opt for models with adjustable angles for versatility.
- Remove the Old Fixture: Turn off the water supply, unscrew the old head, and clean the threads.
- Position the Arm: For centering, align with the midpoint; for off-center, ensure it’s at least 6-12 inches from edges to avoid wall splatter. Wrap threads with tape for a secure seal.
- Install and Test: Screw in the new arm and head, turn on the water, and check for leaks. Adjust height as needed.
- Professional Help if Needed: If rerouting pipes, consult a plumber to comply with local codes.
This process typically takes 30-60 minutes for DIYers, but always prioritize safety.
Addressing Common Questions About Shower Head Placement
FAQs often reveal pain points in shower design. Is it okay to have an off-center shower head? Absolutely, as long as it provides adequate coverage. What if my shower head is too high or too low? Adjustable extensions or professional lowering can fix this. Does centering affect water pressure? Not directly, but poor alignment can make it feel weaker.
For those wondering about shower enclosure types, glass doors work well with any placement, while curtains might need adjustments to contain spray.
Final Thoughts: Tailor Your Shower for Ultimate Comfort
In conclusion, while centering a shower head offers symmetry and even coverage, it’s not a hard-and-fast rule. The best placement depends on your bathroom’s layout, personal needs, and design goals. By weighing pros, cons, and alternatives, you can achieve a functional, stylish shower that enhances your daily life. Whether opting for a classic centered rain shower or an innovative off-center handheld, the key is customization.
Ready to upgrade your bathroom? Share your shower head experiences in the comments below—what’s worked for you, and what hasn’t? If you’re in the market for high-quality fixtures, explore our selection of versatile shower heads and arms designed for easy installation. Don’t forget to subscribe for more bathroom renovation tips and exclusive deals!