Waterproofing a brick letterbox is a great way to keep your letterbox looking its best. By painting or taping the inside of the box with water-repellent material, you can create a waterproof environment. Additionally, adding shingles to the box or using weatherstripping can help protect your letterbox from water damage.
What is a Letterbox?
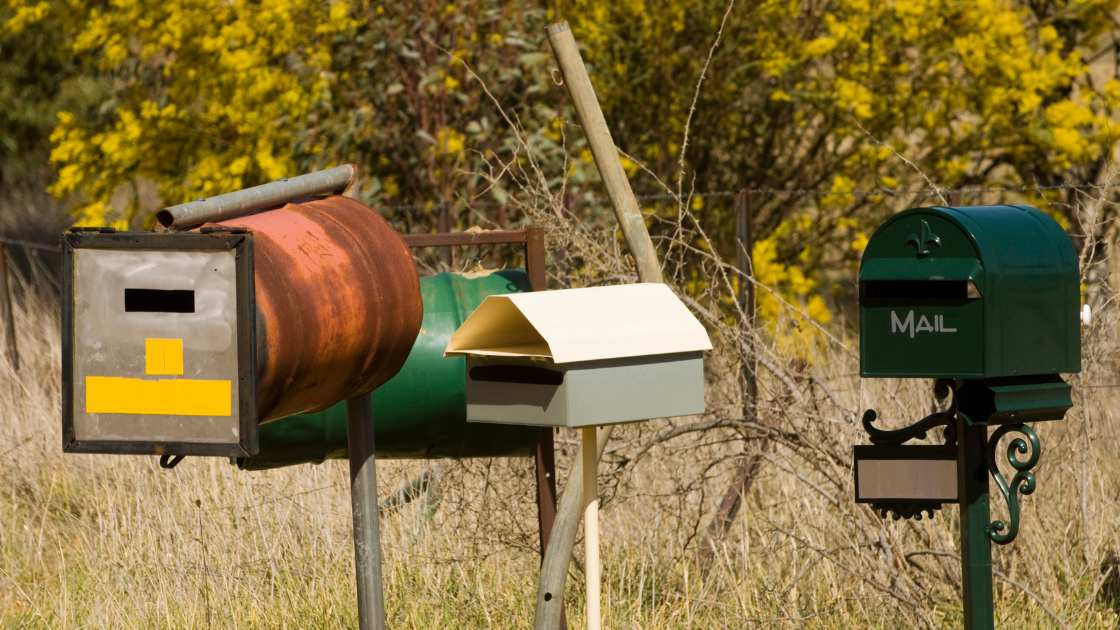
A letterbox is a small, rectangular box that can be found in most buildings. It is used to place mail inside, and also to store Important Documents. Letterboxes are also common in apartments and condos.
What is waterproofing and why do we use it?
Waterproofing materials are used in a variety of areas to protect against water damage and theft. They can also be used as a security measure in places where water is a regular occurrence or an issue. There are different types of waterproofing materials, each with its own advantages and disadvantages.
One type of waterproofing material is the epoxy coat. This type of coating is applied to surfaces to provide them with a durable finish that does not corrode or rust. It can also be used on containers, vehicles, and other objects to avoid water damage. The downside to this type of waterproofing material is that it requires special care when applying it, as it can overspray and create a careless mess.
Another type of waterproofing material is adhesives. These materials are typically applied by using an adhesive gun onto the surface you want to waterproof.
Are mailboxes waterproof?
Most mailboxes are waterproof if they follow USPS standards, but there are a few that don’t. There are a few reasons for this: Some mailboxes use watertight material instead of waterproof material, and the manufacturer may have made an error in their instructions. If you’ve never tried to waterproof your mailbox, it’s time to do so!
The benefits of waterproofing a brick letterbox
If you’re looking to waterproof a brick letterbox, there are a few key benefits to consider.
- First, waterproofing a letterbox can help protect it from water damage and prolong its life.
- Additionally, adding waterproofing material to your bricks can add an extra layer of protection against weather conditions and pests.
- And finally, by following these tips, you can make sure that your letterbox is up and running as efficiently as possible.
How to waterproof a brick letterbox?
Waterproofing a brick letterbox is an important step in maintaining your letterbox. By properly waterproofing your brick letterbox, you can ensure that the box remains water-resistant and able to store mail. Properly waterproofing your letterbox can help prevent water damage, keep your letters safe, and inhibit mold growth.
Tips for waterproofing a brick letterbox:
Add an overhang on the facade or roof of the letterbox to create a seal: Waterproofing a brick letterbox is important to maintain the appearance of your letterbox and protect its contents. There are many ways to waterproof a brick letterbox, but one of the most common methods is to add an overhang or roof. This will create a seal that ensures the contents of your letterbox are not affected by weather conditions.
Use a waterproof membrane to cover the entire box: A waterproof membrane can be used to cover the entire box, giving your building the same level of protection as if it was built with an extra layer of protection.
Use an anti-scratch coating on the door handle and door handle screws: There are a few things you need to do in order to achieve this. First, take care to get the anti-scratch coating on the door handle and door handle screws. This will help prevent them from coming off during weather changes or accidental knocks.
Next, make sure that all of your water connections are properly sealed. This will keep water out of your letterbox and keep the environment clean. Finally, be sure to regularly check for any pests or rodents and treat any areas as needed. All of these steps will help keep your letterbox safe and healthy.
Make sure all hinges are sealed with silicone or epoxy: Waterproofing a brick letterbox is essential for keeping the box safe from water and other hazards. The most common method of waterproofing a brick letterbox is by using silicone or epoxy. There are many different ways to waterproof a brick letterbox, so it’s important to choose the method that will work best for your box.
Check for moisture and pests in the box often and treat as necessary: Moisture can come from the environment or from people who are using the box. If moisture is present, then you will want to treat it as necessary. You can also consider adding an Spray-on-Board (SOB) product to the box in order to combat pests and water damage.
In Final Words
Waterproofing a brick letterbox is a great way to keep your mailbox protected from the elements. By doing so, you can ensure that your letters and other bulky items won’t get soaking wet and ruined.
Read More: Small Office Design Ideas to Enhance Your Working from Home Experience